
This raita recipe is cool, creamy and super easy to make. You’ll love how refreshing this Indian yogurt sauce tastes, whether you’re using it to drizzle over spicy grilled meats or as a dip for naan and fresh vegetables.
It’s one of our family’s favorite sauces!

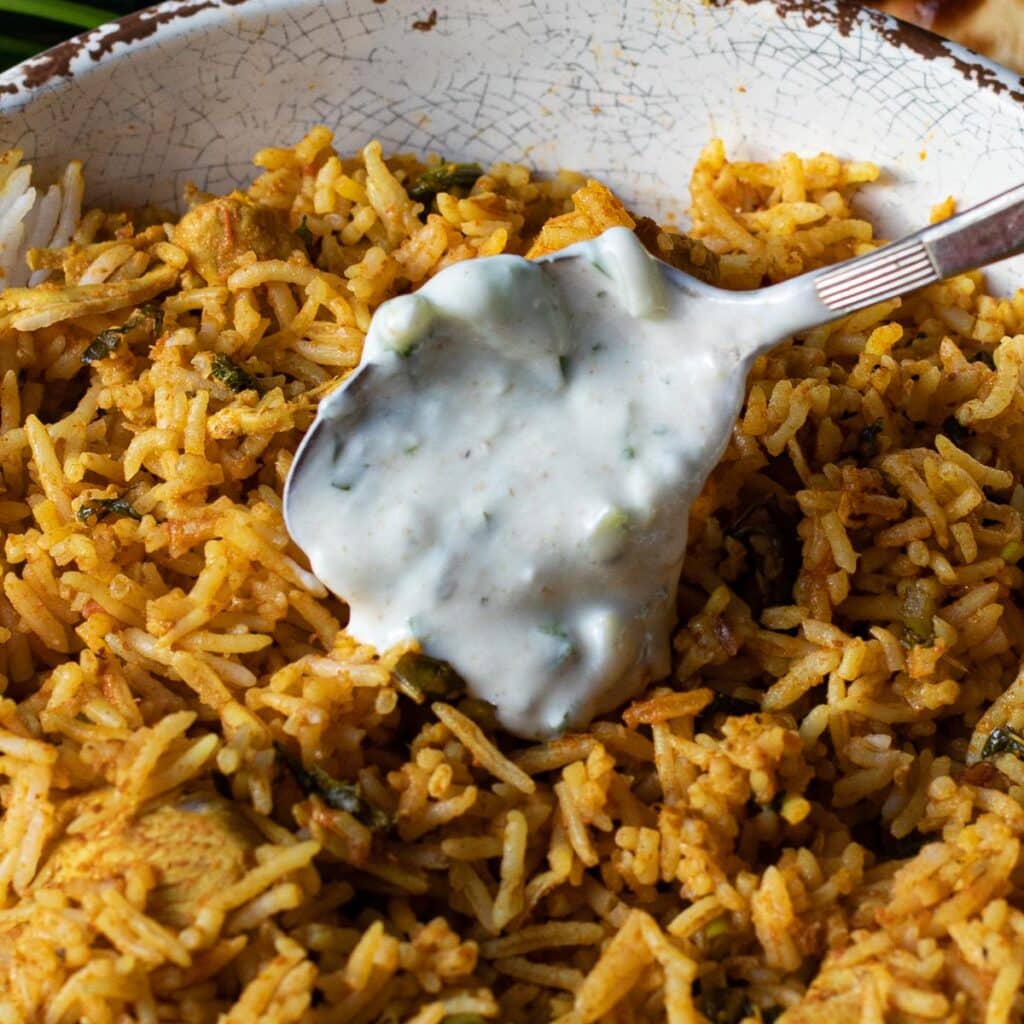
It’s no secret that I am a huge Indian food lover. But it’s only recently that I discovered biryani. I had chicken biryani for the first time when we visited a famous Indian restaurant in London last summer, and fell instantly in love.
This delicious rice-based dish was brought to the table with a side dish of raita, which I then drizzled over it.
The biryani was spicier than I had expected, and I was so happy to have that cool, fresh yogurt sauce to balance my palate.

What is Raita?
Raita is an Indian yogurt sauce that has a cooling effect on the palate, making it a great complement to spicy Indian dishes. It is a traditional condiment in Indian cuisine, often found alongside a main Indian meal at Indian restaurants or the popular side dish of samosa.
Raita goes with naan like peanut butter goes with jelly. Its creamy texture is the perfect accompaniment to dishes like spicy biryani.
This cucumber raita recipe also has cilantro to really boost that cool, refreshing flavor.
There are a variety of raita recipes out there. From onion raita to boondi raita to mint raita, the options are many. This basic raita recipe is how I like to enjoy it: simple, refreshing and easy to make. Let’s get to it!
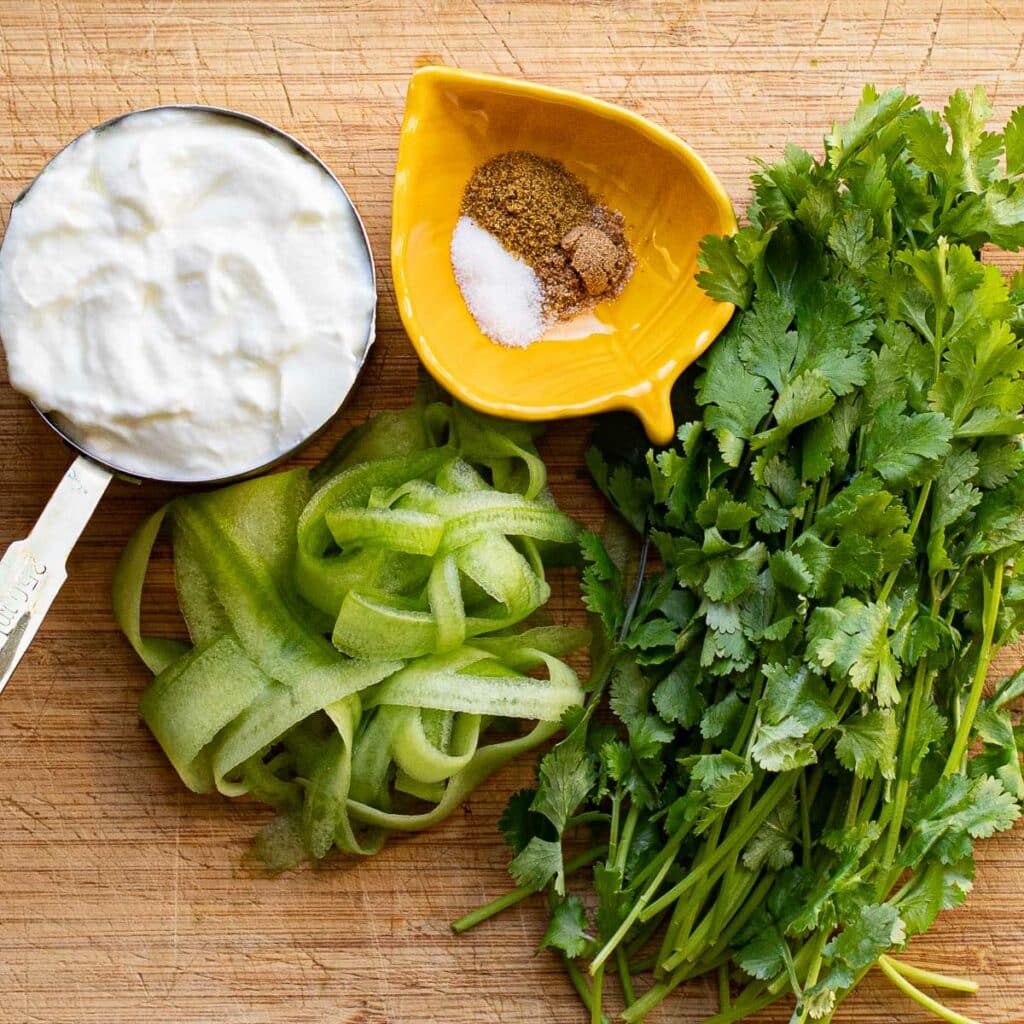
Ingredients for Raita
You’ll only need a few simple ingredients to make this delicious Indian yogurt sauce:
- Plain yogurt. This is the main ingredient in raita, so buy a high-quality whole milk yogurt. Authentic raita is made with full-fat yogurt, not sour cream or Greek yogurt.
- Fresh Cucumber. Seeded or seedless doesn’t matter, because we are only using the flesh. The skins and seeds will be discarded.
- Fresh cilantro leaves. With cilantro being the controversial herb that it is, you could substitute mint leaves if you prefer.
- Dried spices like cumin and coriander. Traditionally, you’d grind up the cumin seeds and coriander leaves with a mortar and pestle. You can totally do this, but using already ground cumin and coriander is easier.
How to make this Indian Yogurt Sauce
While some recipes using cucumber may require you to salt and strain the cucumber to extract any excess water, this easy raita recipe actually welcomes a little water in the cucumbers.
The little bit of extra water content helps thin out the creamy yogurt, making it a good dipping consistency.
You can add more cucumber to thicken raita so that it becomes a delicious side dish or salad. I like to keep mine on the thinner side for dipping and drizzling over spicy curries.
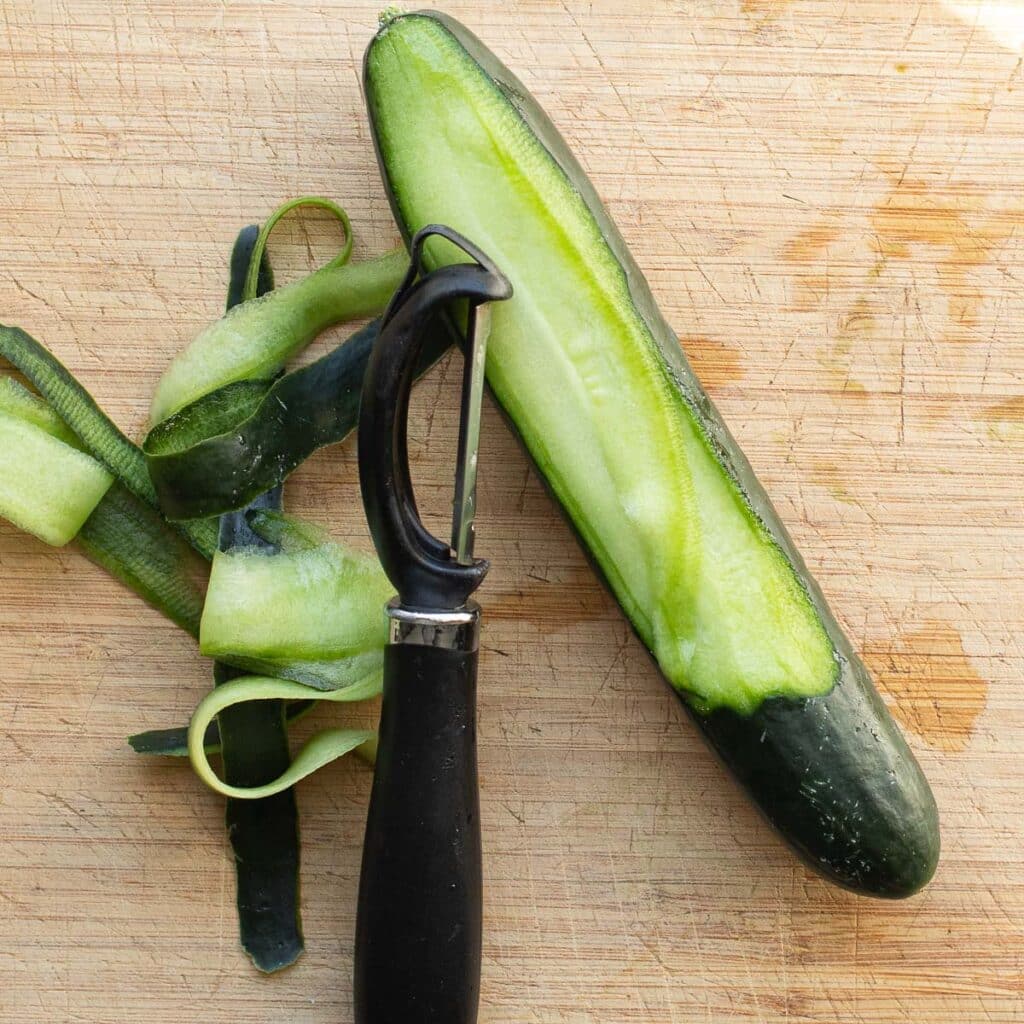
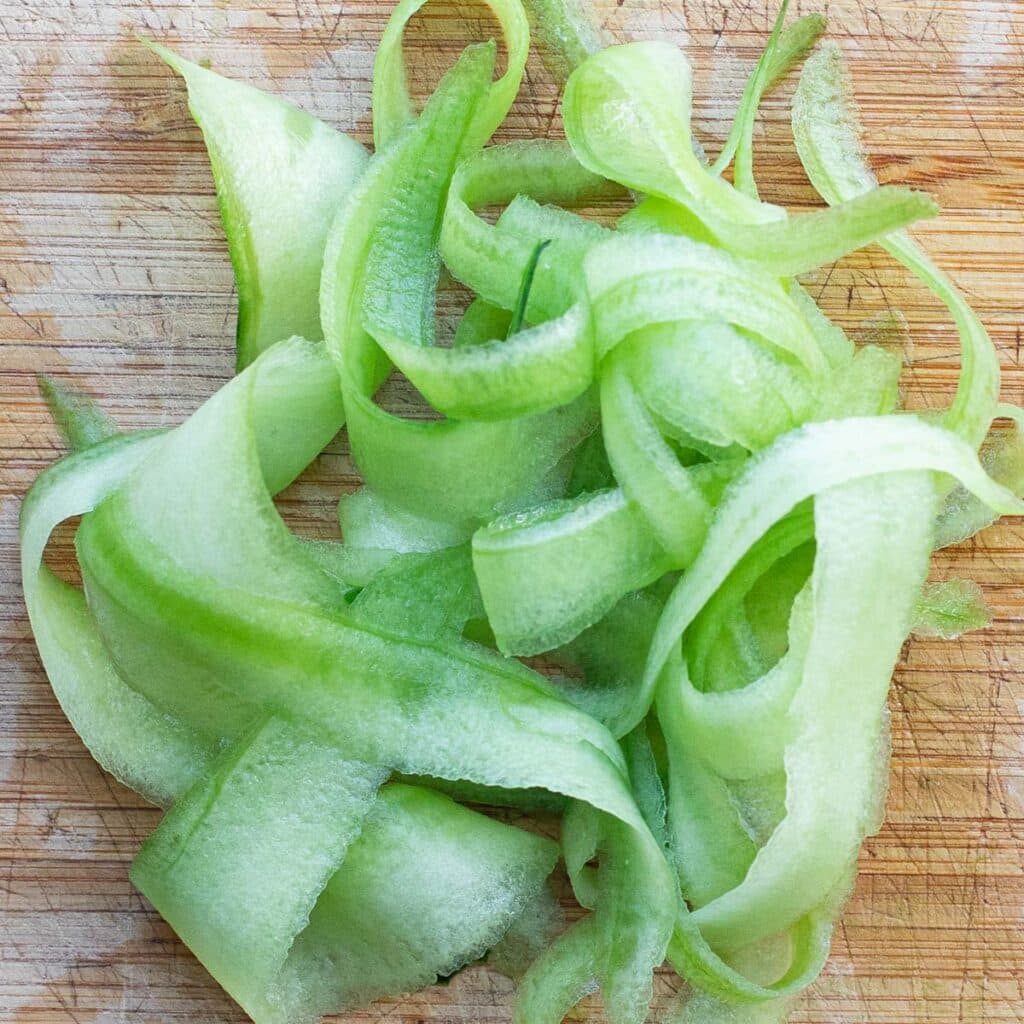
We want the cucumber texture to be delicate, so first we’re going to use a vegetable peeler to create thin ribbons. Then, we’ll run a knife through the cucumber ribbons so that we have very small, fine pieces.
Then, just combine everything in one bowl.
As with any dip, the longer the flavors mellow in the fridge, the better it will be. But you can absolutely eat it right away!
What is the difference between raita and tzatziki?
Raita and tzatziki are both yogurt-based sauces, and they both have probiotic health benefits. There are a few differences between them, but the main difference is consistency.
Raita is made with plain, regular yogurt, giving it a thinner consistency than tzatziki, which is made with Greek yogurt.
Tzatziki usually contains some type of acid, like vinegar or lemon juice. Raita doesn’t have any acidic ingredients.
Raita can also contain cucumber, carrots or even red onion, while tzatziki typically only contains cucumber.
Both sauces contain fresh herbs. For raita, this usually means cilantro. For tzatziki, we’re talking fresh dill or fresh mint.

How to serve raita
Serving raita with a spicy Indian meal is a no brainer. But what if you’re not having Indian food at all? Here are my favorite ways to enjoy raita, with and without your favorite Indian dishes:
- If you’re having naan, you’ve got to have raita. It’s just that simple.
- Use raita to cool down any spicy food. This includes non-Indian dishes like barbecue, hot wings, jalapeño poppers, fried chicken, hot pot and more.
- Spoon it over your favorite biryani recipes and other Indian curries.
- Use Indian raita as a tangy salad dressing and a great dipping sauce for raw vegetables.
Variations and Substitutions
Here are some popular twists on this basic raita recipe:
1. Mint Raita: Fresh mint leaves add a burst of flavor and freshness to this raita variation. Adding mint is a great way to offset the heat of Indian dishes or to serve with grilled meats.
2. Onion Raita: Finely chopped onions are a popular choice in North India. This version is often served with kebabs or stuffed parathas.
3. Tomato Raita: Diced tomatoes, combined with yogurt and a touch of cumin, create a tangy and juicy raita that can be a refreshing side for a variety of Indian dishes.
4. Boondi Raita: Tiny, fried gram flour balls called boondi are added to the yogurt to create a unique texture and flavor. This raita is an ideal accompaniment for rice dishes like pulao or biryani.
5. Radish Raita: Grated radish mixed with yogurt and a dash of black salt creates a unique and refreshing raita with a subtle peppery flavor.
6. Cilantro-Lime Raita: A zesty twist on the classic, adding some freshly squeezed lime juice creates burst of citrusy freshness.
How to Store Raita
Store this creamy Indian yogurt sauce in an airtight container in the refrigerator for up to 5-7 days.
It’s safe to say that you won’t run out of ways to enjoy this Raita, so whip up a batch today! And when you do, I’d love to hear about it. Leave a comment or drop a star rating below. Enjoy!
For more Indian recipes, try these:
- Indian Roasted Cauliflower Curry with Coconut Rice
- Chicken Tikka Masala
- Indian Ginger Chicken and Rice
For more dipping sauces, try these:

Raita (Indian Yogurt Dip for Naan & Biryani)
Ingredients
- 1 cup plain yogurt
- 1/2 large cucumber
- 2 Tbsp. cilantro chopped
- 1/4 tsp. ground coriander
- 1/4 tsp. cumin powder
- 1/4 tsp. salt
Instructions
- Using a vegetable peeler, remove and discard skin of cucumber. Continue to use the vegetable peeler to create thin ribbons. Stop peeling once you reach the seeds. Discard the seeds.
- Using a knife, chop cucumber ribbons into smaller pieces. Combine with remaining ingredients. Store in the refrigerator in an airtight container.
Cool and delicious, good with biryani or naan.
Hi Vern,
So glad you enjoyed it, and thank you for your feedback! 🙂