
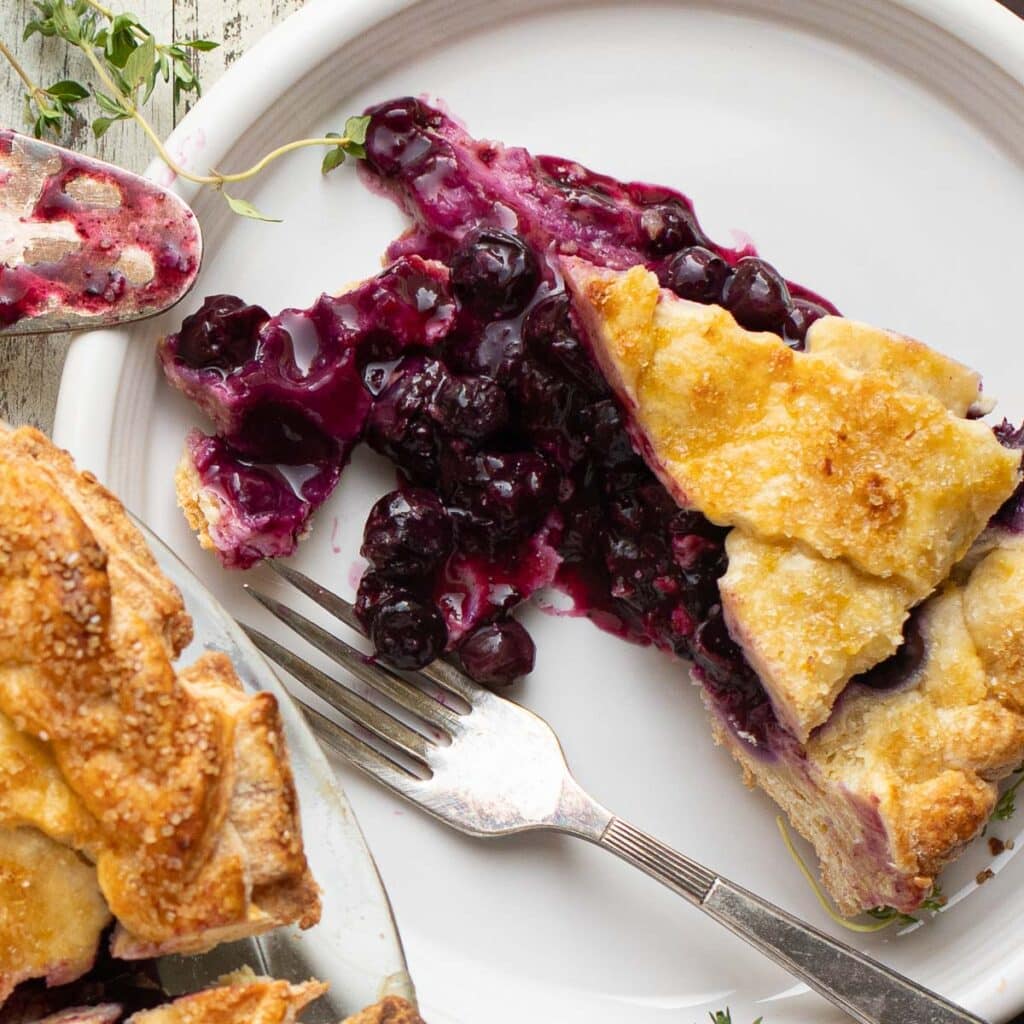
Blueberry pie is a summertime classic! There’s nothing better than a slice of homemade pie, bursting with fresh blueberries, topped with a scoop of vanilla ice cream. Literally the best.
If you’re looking for a blueberry pie recipe that is not runny and won’t fall apart when you slice it, you’ve come to the right place.

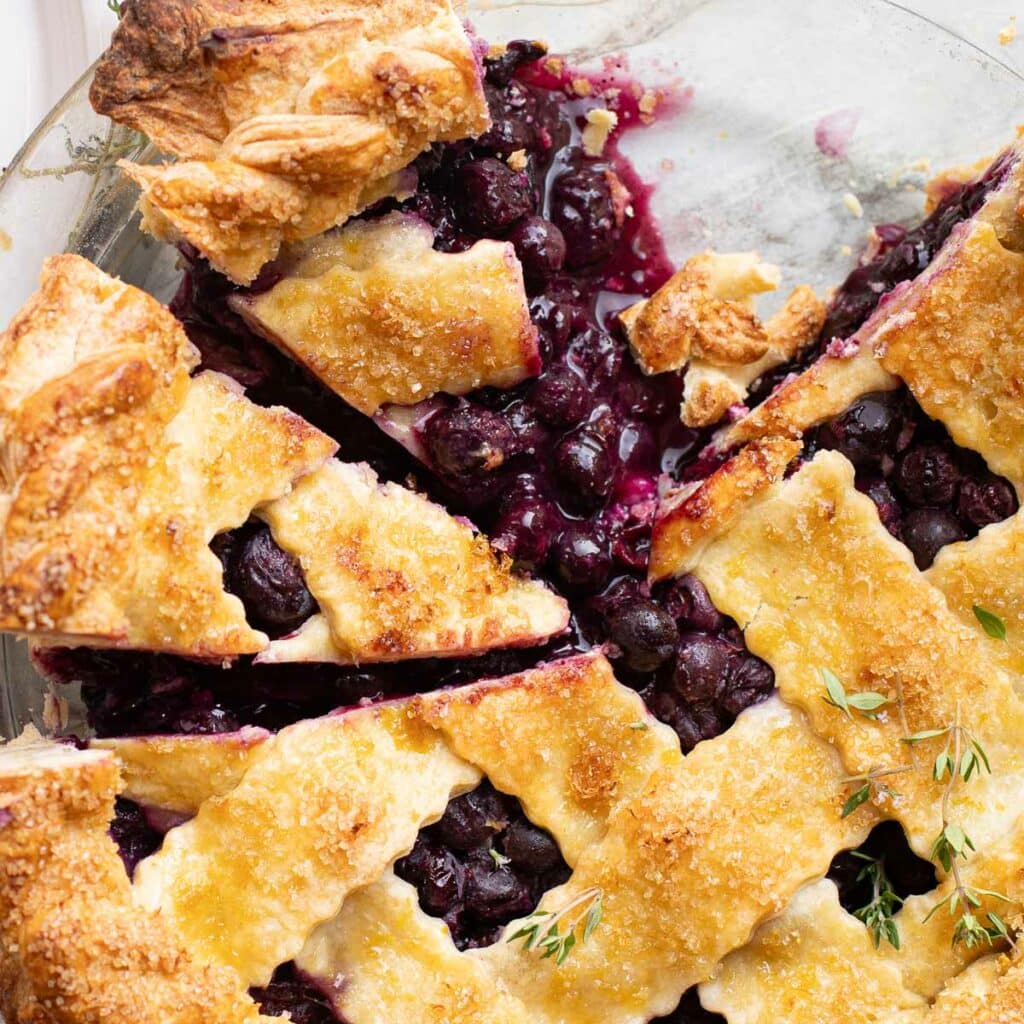
This summery pie has a buttery, flaky crust and is packed with juicy blueberries that get thick and syrupy as the pie bakes.
And I promise, it won’t be a soupy mess when you slice into it.
Why does blueberry pie filling get runny?
Fruits give off moisture when they are baked, which can sometimes result in a runny filling and/or a soggy crust.
The solution is to incorporate a thickener that will absorb the liquids that fruits naturally release. Depending on what you’re baking, here are some good choices for thickeners:
- Flour. This is best for fruit pies using apples and cranberries.
- Tapioca. This is my thickener of choice for cobblers and crisps.
- Cornstarch. The mack daddy of thickeners, it’s what I like for berry pies and what we’ll be using in this blueberry pie recipe.

Ingredients for the Best Blueberry Pie
Here’s what you’ll need to make this fresh blueberry pie recipe:
For the Crust
- All purpose flour
- Sugar
- Cold butter
- Eggs
- Lemon juice
- Salt

For the Blueberry Filling
- Fresh blueberries
- Sugar
- Cornstarch
- Lemon Juice
- Cinnamon
How to Make this Blueberry Pie Recipe
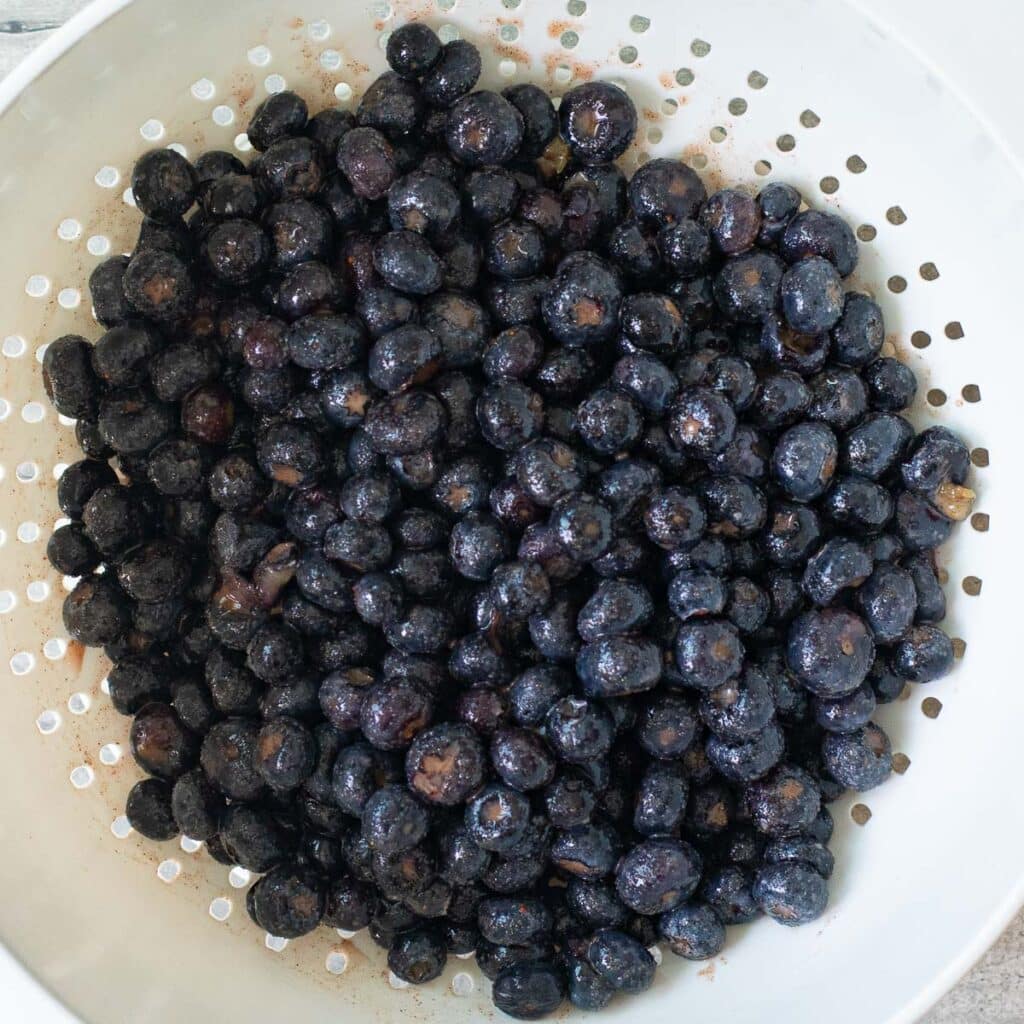
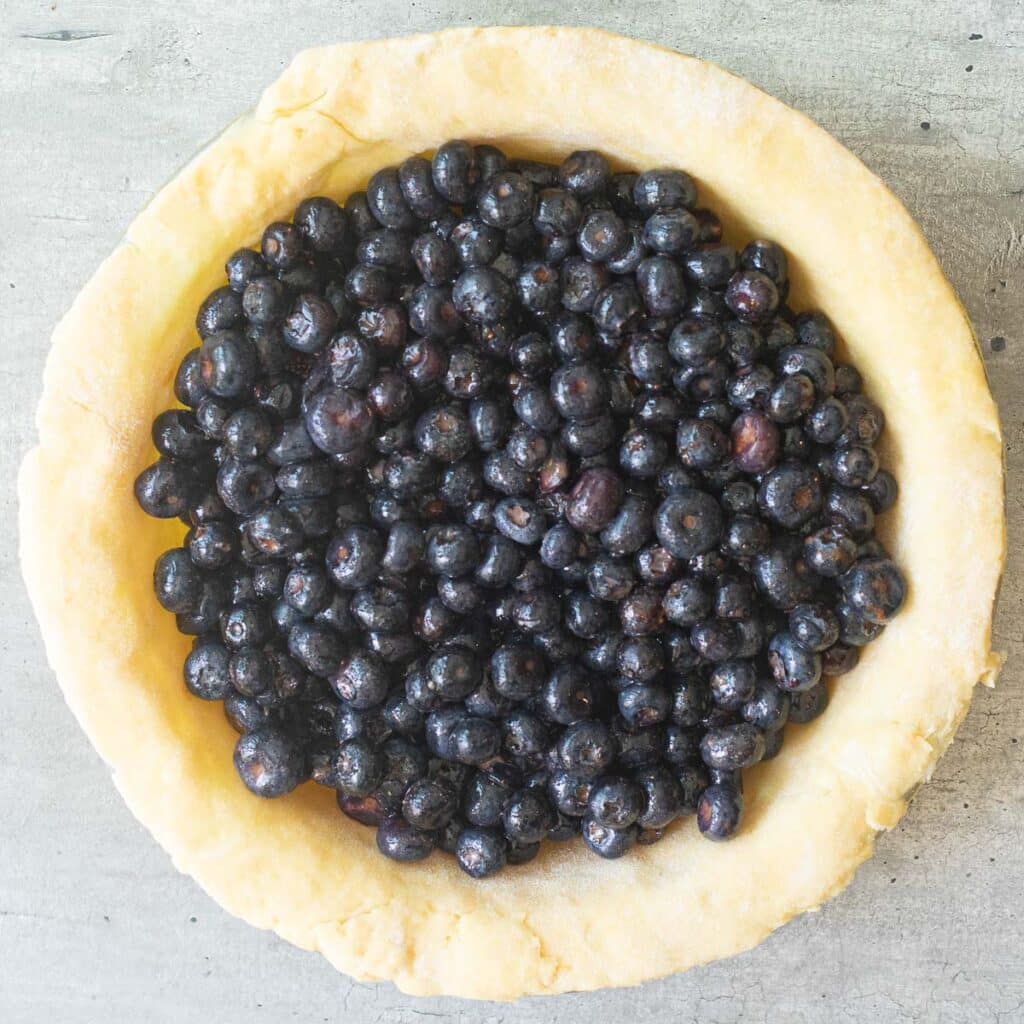
First things first: make the blueberry filling.
Combine all of the filling ingredients and get the mixture into a colander so that the juices can start to drain. Let the juices drain while you make the pie dough.
The homemade flaky pie crust comes together pretty easily. Just be sure to use cold butter. You’ll work the butter into the dry ingredients until the mixture looks sandy.
You can do this using a pastry blender or just your fingers. Then, chill the pie dough in the refrigerator. Cold dough is much easier to work with.

When you’re ready to work with the pie dough, the easiest thing to do is roll out two crusts, fill the bottom crust, top it with the other crust and bake in a 9-inch pie plate.
If you want to go the extra mile for the lattice top, here’s how you do it:
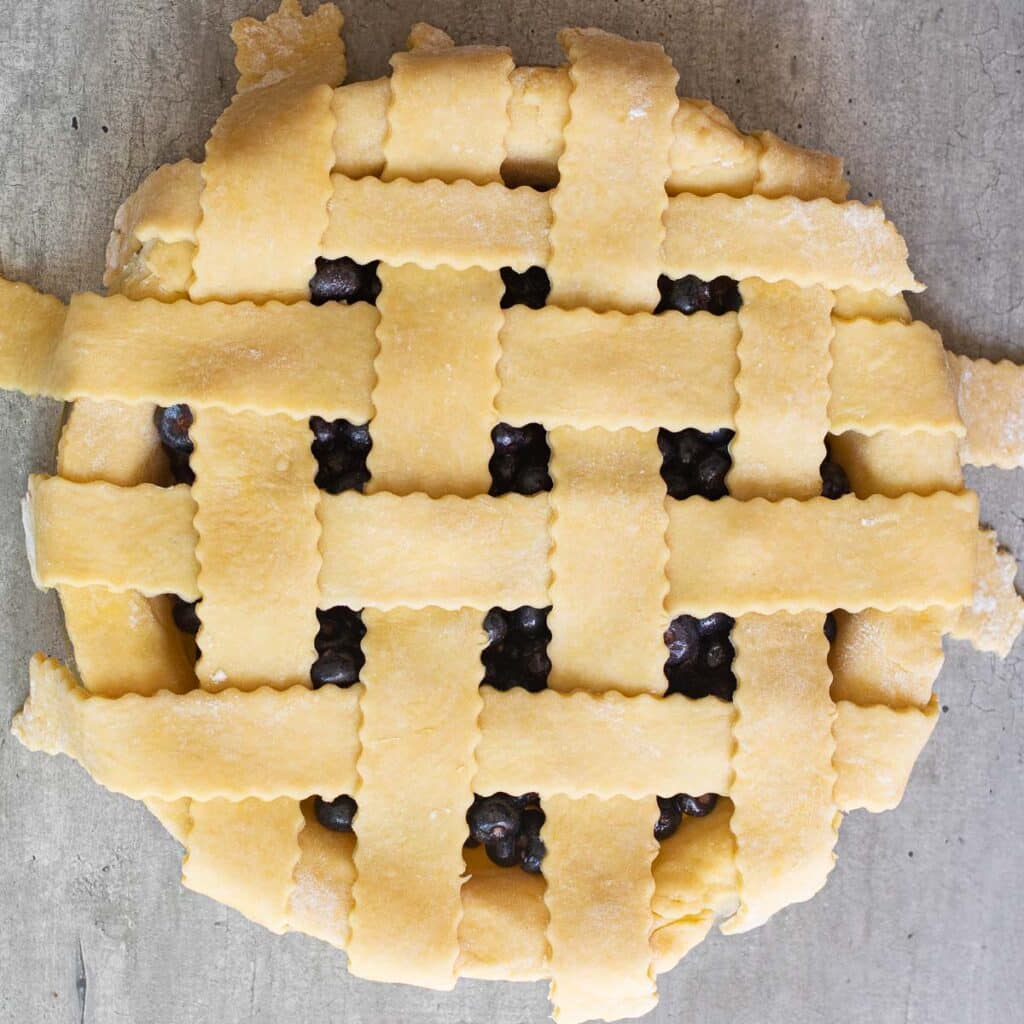
How to make a lattice top
Don’t be overwhelmed by the idea of making a lattice top for your blueberry pie. It’s actually pretty simple, and makes for a beautiful presentation. Just follow these step-by-step instructions.
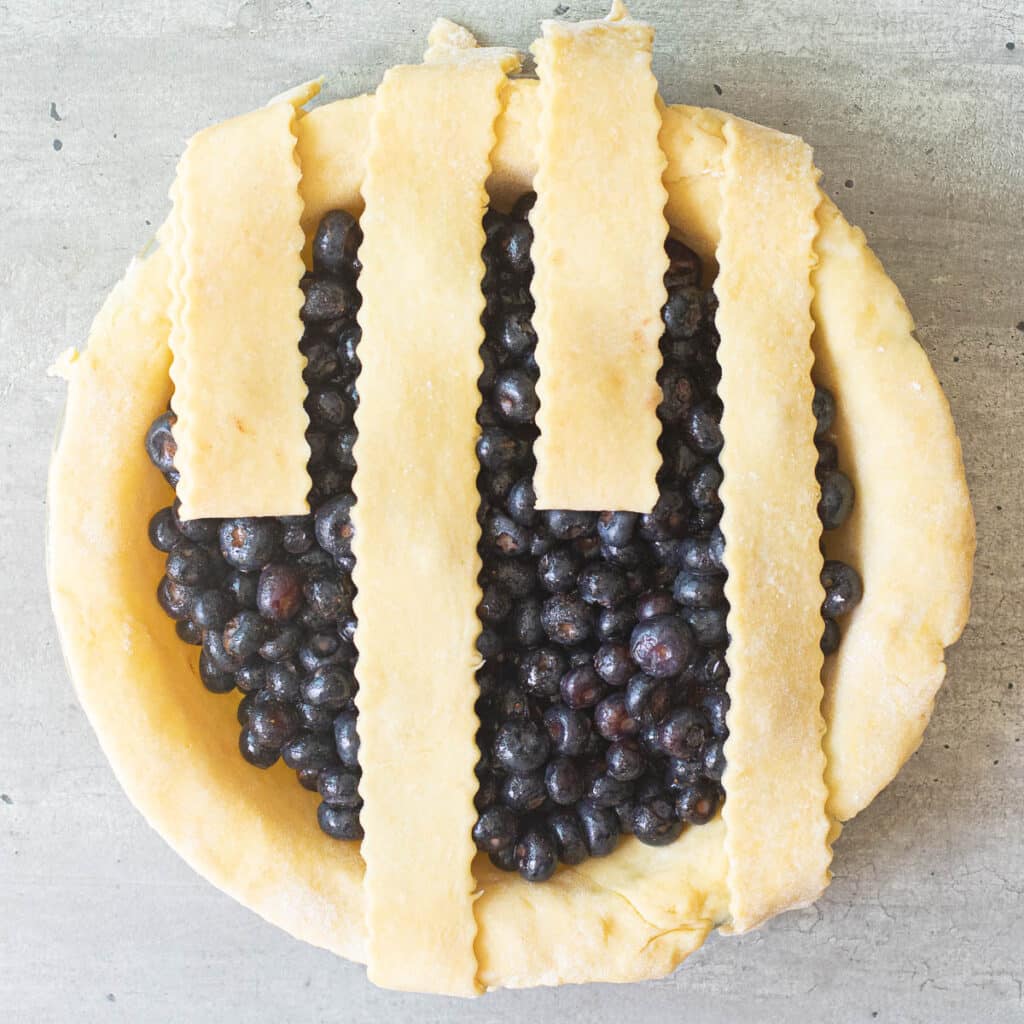
First, cut long strips of pie dough. I like using a pizza wheel or pastry roller for this, but you could also just use a sharp knife.

Then, lay the strips parallel on top of the fruit filling. Leave a little space between them so that the fruit filling is visible.
Now, fold back every other piece of dough.
Lay a long piece of dough perpendicular to the others.
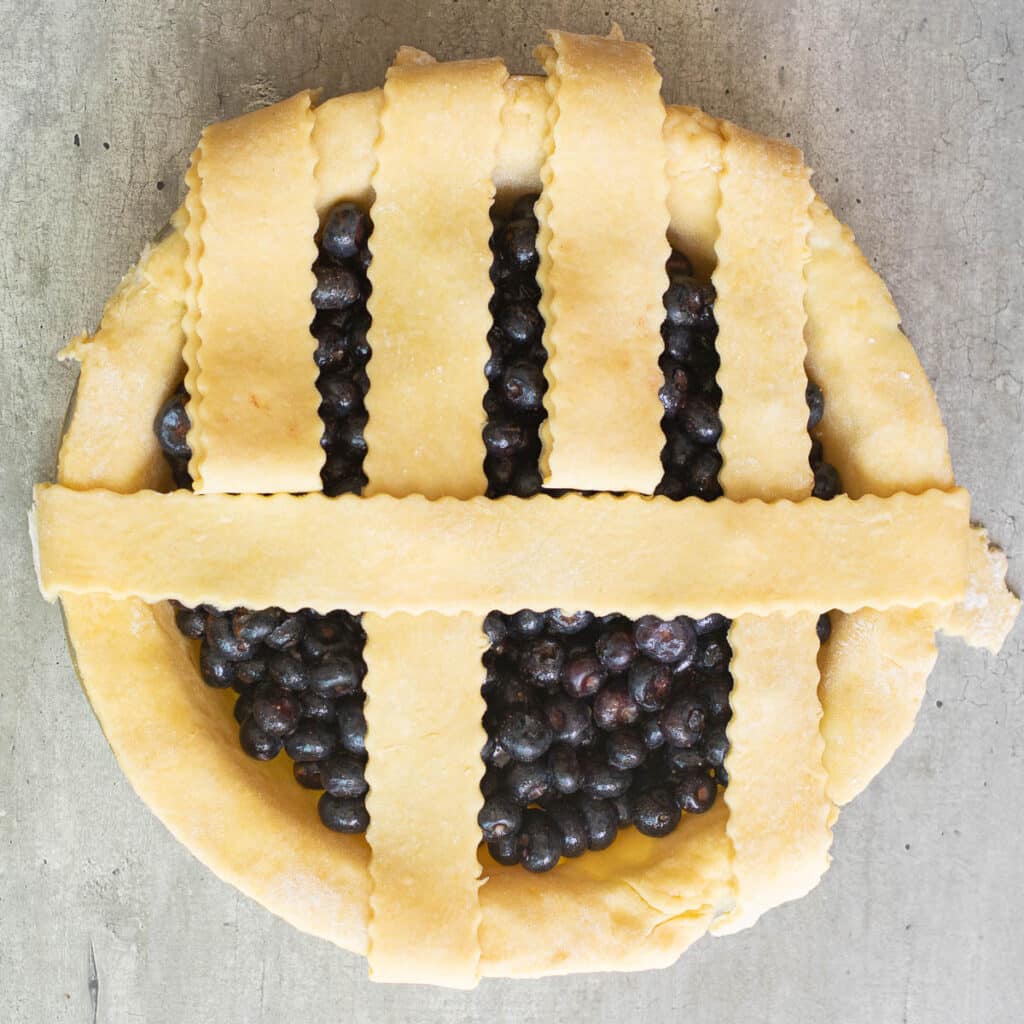
Fold the pieces back over, and lay another perpendicular piece.

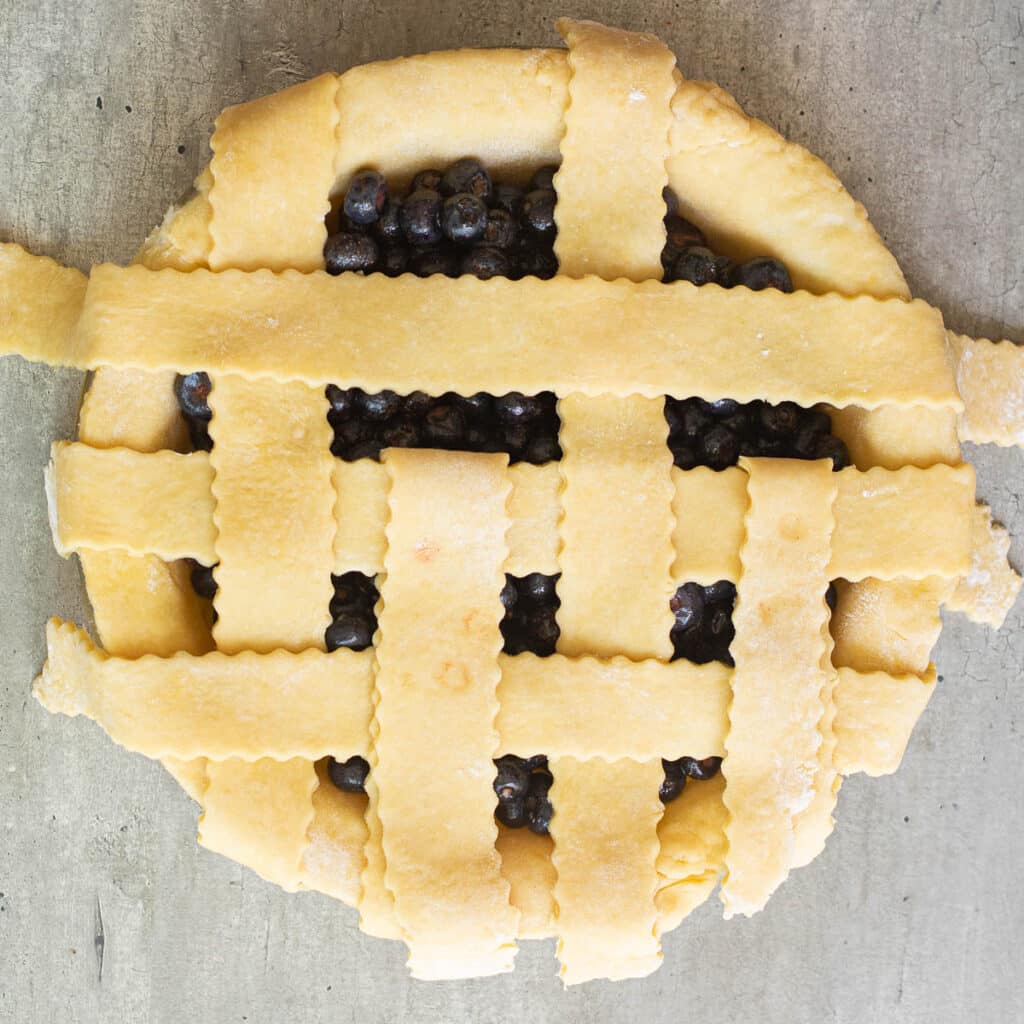
Fold back the other two pieces. Repeat the process on the other side of the pie.
How to serve this blueberry pie
The best way to serve this homemade blueberry pie is at room temperature. The filling will thicken as it cools, and the flaky crust will be perfect!
Be sure to top it with a cool scoop of vanilla ice cream or whipped cream. So good!

How to store this blueberry pie
If you have leftover pie, cover it tightly with plastic wrap and store it in the refrigerator. It will keep for several days. Allow it to come to room temperature again before enjoying.
Alternatively, pop it into the microwave for 30 seconds to take the chill off.
FAQ
Can you freeze blueberry pie?
You can freeze this blueberry pie both before and after it is baked. An unbaked pie will stay fresher in the freezer for longer than a baked pie, but both will be okay for a few months as long as they’re stored properly.
Wrap the pie tightly in several layers of plastic wrap. Then, place the pie in either a freezer bag or airtight container before putting it in the freezer.
Reheat the pie from a frozen state in an oven set at 375.
Lower the temperature to 350 after about 20 minutes and bake until the filling is bubbling and the crust is golden brown.
Can you use frozen blueberries in this blueberry pie recipe?
Frozen blueberries will have a higher moisture content than fresh blueberries. And as we’ve discussed, moisture is the culprit of a runny pie filling.
Although you could use frozen blueberries in this recipe, it will affect the consistency of the filling. So I always recommend using fresh blueberries.
Can you use store bought pie crust in this recipe?
You can absolutely use store bought crust! My favorite is Pillsbury refrigerated pie crust. Each package has two crusts, so you can use one for the bottom and the other to create the lattice pie crust (if desired).
This shortcut makes for a very easy blueberry pie experience.
When you make this blueberry pie recipe, I’d love to hear about it! Drop a rating or leave a comment below. Enjoy!

For more summer fruit bakes, try these:
- Cherry Plum Upside Down Cake
- Blueberry Bread Pudding with Cream Cheese & Brioche
- Chocolate Chip Strawberry Shortcake
For more pie recipes, try these:

Homemade Blueberry Pie Recipe (That is not Runny!)
Ingredients
The Crust
- 3 cups all purpose flour
- 2 Tbsp. sugar
- 2 sticks cold unsalted butter
- 5 large eggs
- 1 tsp. salt
- 2 tsp. lemon juice
- zest of 1 lemon
- 2 Tbsp. turbinado sugar
The Filling
- 6 cups blueberries
- 2/3 cup sugar
- 6 Tbsp. cornstarch
- 1/4 cup lemon juice
- 1 1/2 tsp. cinnamon
Instructions
- Combine all of the filling ingredients in a large bowl. Mix well. Transfer to a colander and let the juices drain while you make the crust.
- Make the pie crust: In a large bowl, whisk together the flour, sugar and salt. Cut the butter into cubes. Using a pastry blender or your hands, work the butter into the dry ingredients until the mixture resembles coarse sand.Stir in 4 eggs and lemon juice. Divide dough in half and form into two discs. Wrap with plastic wrap and refrigerate at least 30 minutes.
- Preheat oven to 400 degrees. Unwrap the dough and roll out onto a floured surface. Use a rolling pin and roll until the dough is 1/4 inch thick. Coat a 9" glass pie pan with nonstick cooking spray. Transfer the crust to the greased pie plate and press gently, on the bottom and up the sides. Leave the overhang for now.
- Use a fork to prick all over the bottom of the crust. Pour the filling into the bottom crust. Roll out the top crust to a 1/4 inch thickness and place carefully over the pie filling. Crimp the top and bottom crusts together using your fingers or a fork. Trim the excess dough. Cut small slits in the top to allow air to escape.
- To make lattice crust:Follow step 3. Roll out the top crust to a 1/4" thickness. Cut the dough into long strips. Lay out parallel strips of dough over the pie filling, leaving about 1/2" of space between them. Now, fold back every other strip half way. Lay one strip of dough perpendicular to the others. Unfold the strips that were folded back.Now, take the strips that are underneath the perpendicular strip and fold them back. Lay another perpendicular strip of dough, and fold the other strips back down over it.Repeat this process until all perpendicular strips are laid down. Crimp the edges of the pie together using your fingers or a fork. Trim the excess dough.
- Beat the remaining egg. In a small bowl, combine the lemon zest and turbinado sugar. Using a pastry brush, brush the top of the pie with the egg wash and sprinkle generously with the lemon-sugar. Bake 40 minutes, until golden brown. Allow to cool at room temperature on a wire rack before serving.
Please give ratio of lemon zest, thyme and turbinedo sugar for the crust