
Chocolate peppermint bark is my weakness! A classic holiday treat made with rich chocolate, creamy white chocolate and refreshing peppermint flavor – it’s simple, yet perfect and completely addictive.
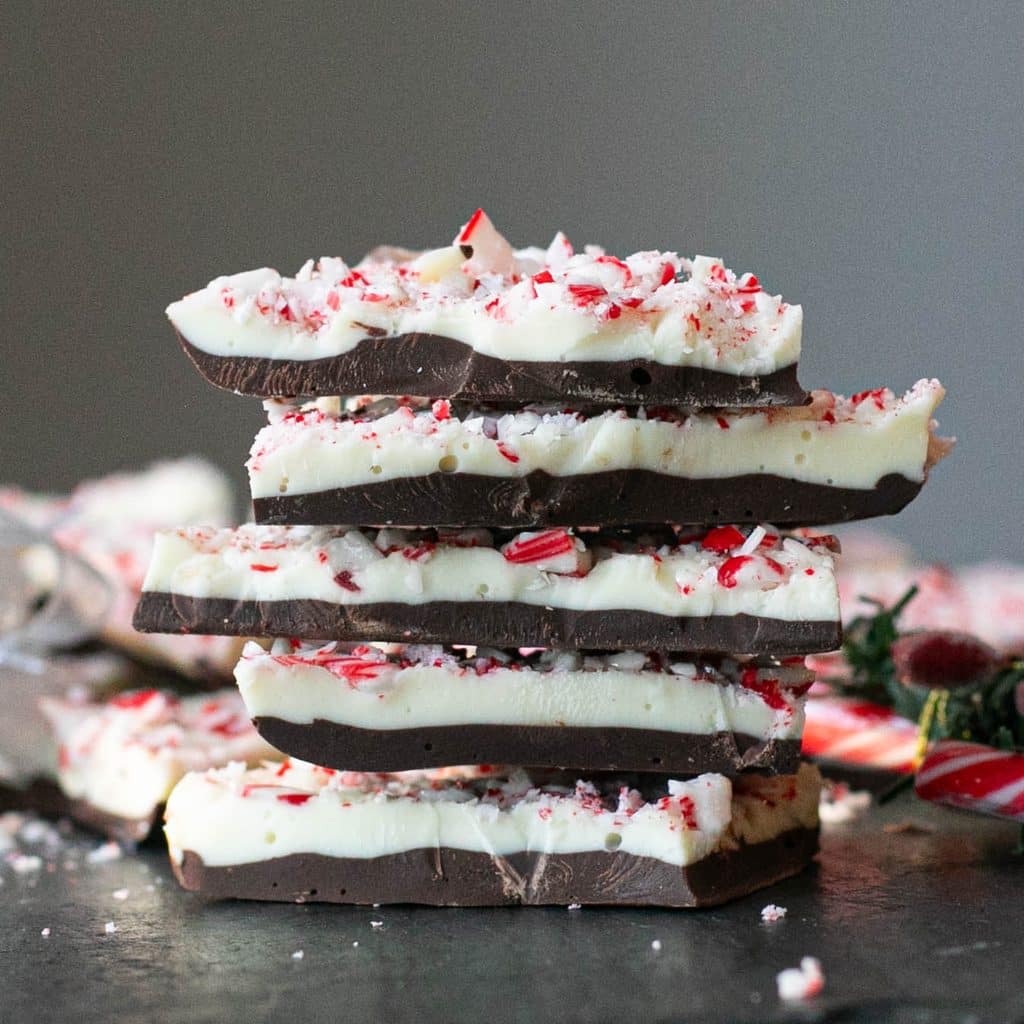
This easy peppermint bark recipe uses simple ingredients to create beautiful chocolate layers topped with crushed candy canes for the perfect combination of sweet, creamy and crunchy. It’s a simple recipe that looks impressive but takes very little hands-on time!
Whether you’re preparing a holiday dessert tray, filling a cute tin for a holiday gift, or adding something special to your Christmas cookies, this homemade peppermint bark is always a favorite.
Why We Love This Recipe
- Easy to make: This easy recipe requires just a few simple ingredients and doesn’t require any special candy-making equipment.
- Classic holiday flavors: Rich semisweet chocolate, creamy white chocolate and peppermint candies create the perfect balance of flavors.
- Beautiful layers: The contrast between the dark chocolate layer and the white chocolate layer makes this chocolate bark look festive and delicious.
- Perfect for gifting: Break the finished bark into smaller pieces and package them in a cute tin or decorative bag for a festive gift.
- Make-ahead friendly: You can prepare homemade peppermint bark ahead of time and store it until you’re ready to serve or give it away.
- Gluten free: This holiday treat is naturally gluten free!

Ingredients
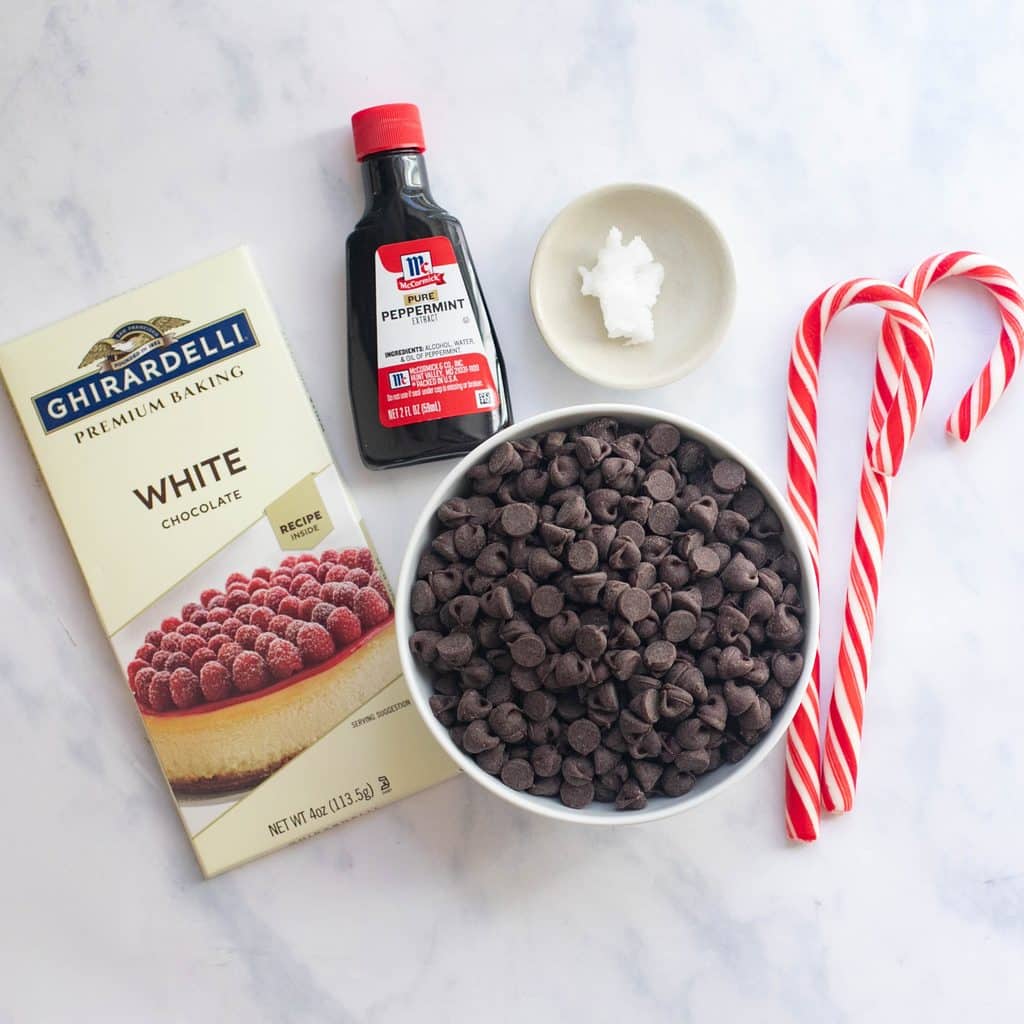
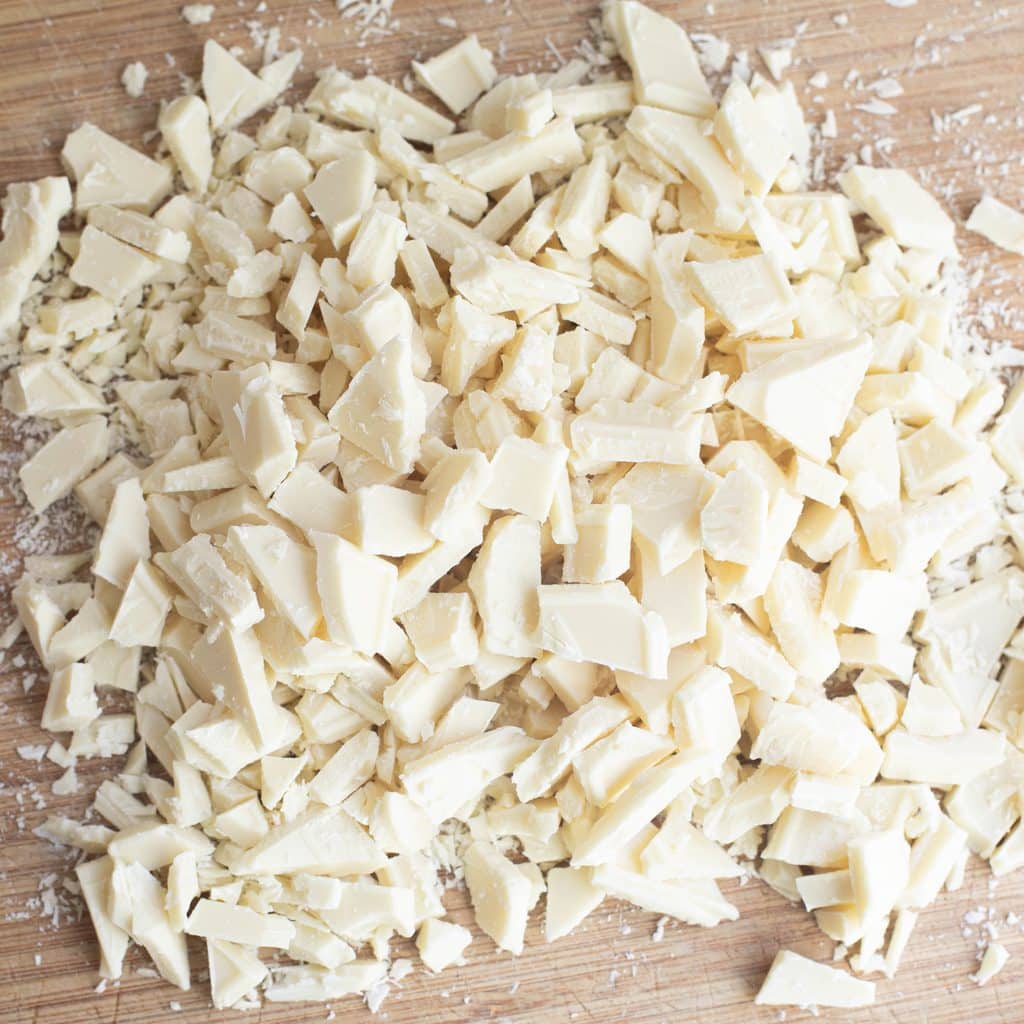
- White chocolate. It’s super important to get white chocolate that’s made with cocoa butter. Go for high quality brands of morsels or get baking chocolate that you can cut into smaller pieces.
- Semisweet chocolate
- Crushed candy canes or peppermint candies
- Coconut oil. A tiny bit of coconut oil helps the chocolate melt smoothly without burning. You won’t be able to taste it, but it makes all the difference!
- Peppermint extract. Not to be confused with mint extract, this will add the classic candy cane flavor we love.
How to Make Peppermint Bark
Make the Chocolate Layer
Start by microwaving the semisweet chocolate with a little bit of coconut oil. Do it in 30 second intervals, stirring in between each interval. It takes about 3 intervals for my chocolate to become smooth and spreadable.
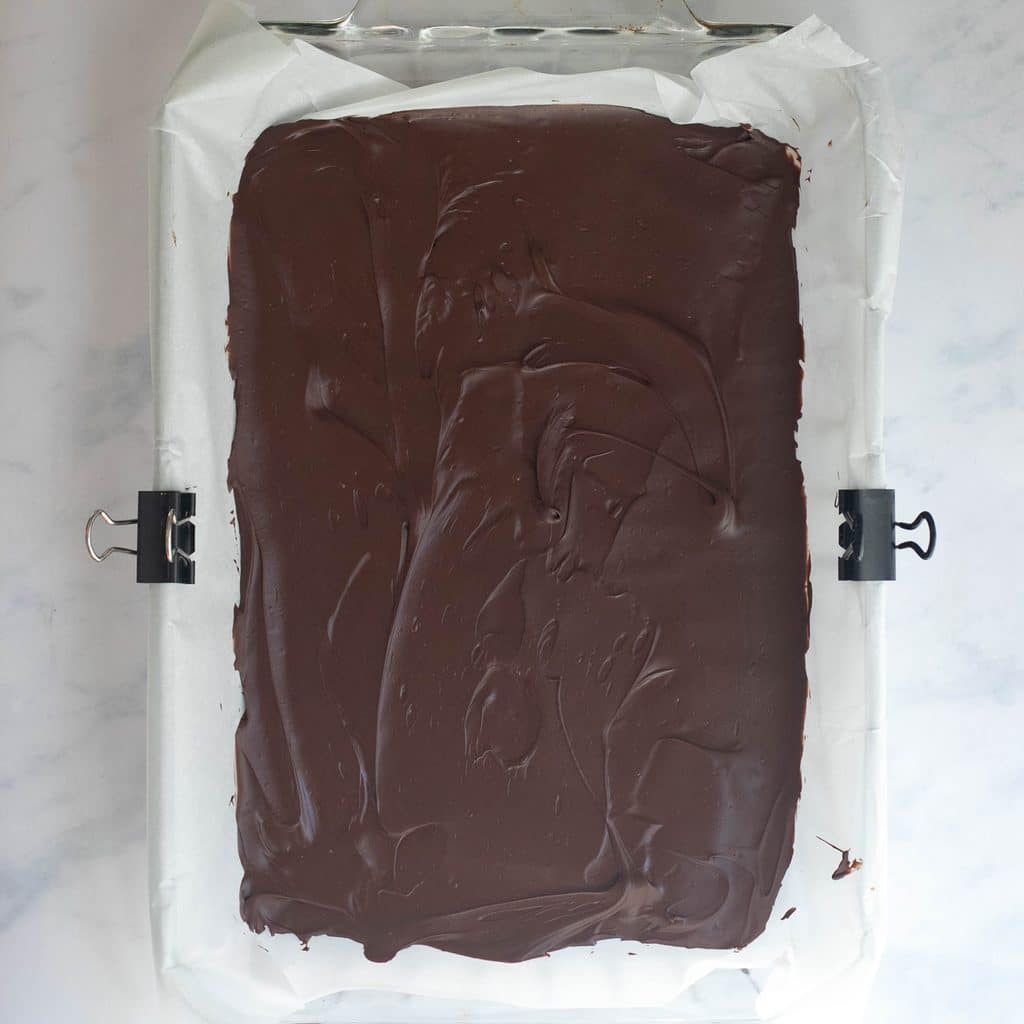
Once it’s melted, spread the chocolate onto a parchment-lined baking sheet or baking pan.
Chill the Chocolate Layer
Pop the baking pan into the fridge for no more than 10 minutes. We want it to be soft-set, so the white chocolate layer will adhere and not separate.
Make the White Chocolate Layer
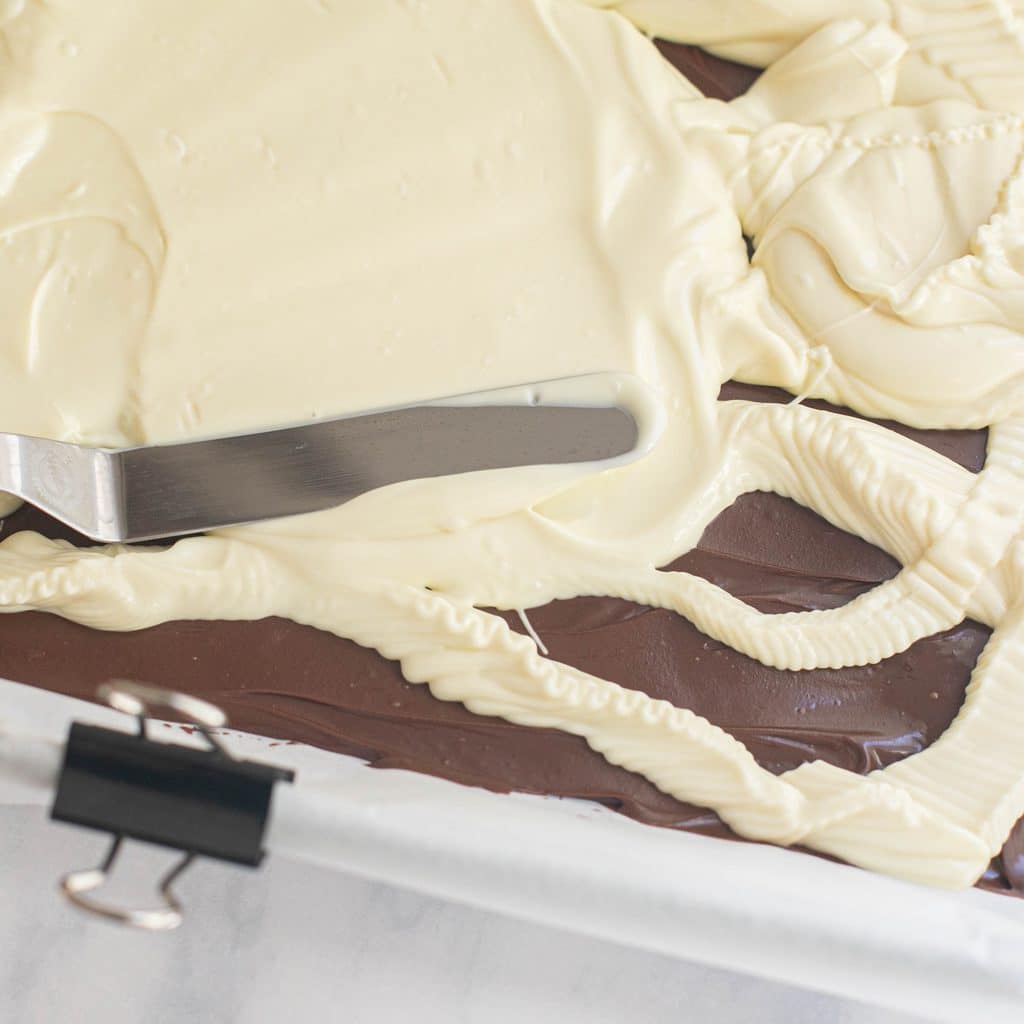
Repeat the same microwaving and melting process with the white chocolate, and then spread it over the chilled chocolate layer.
Top with Crushed Peppermints
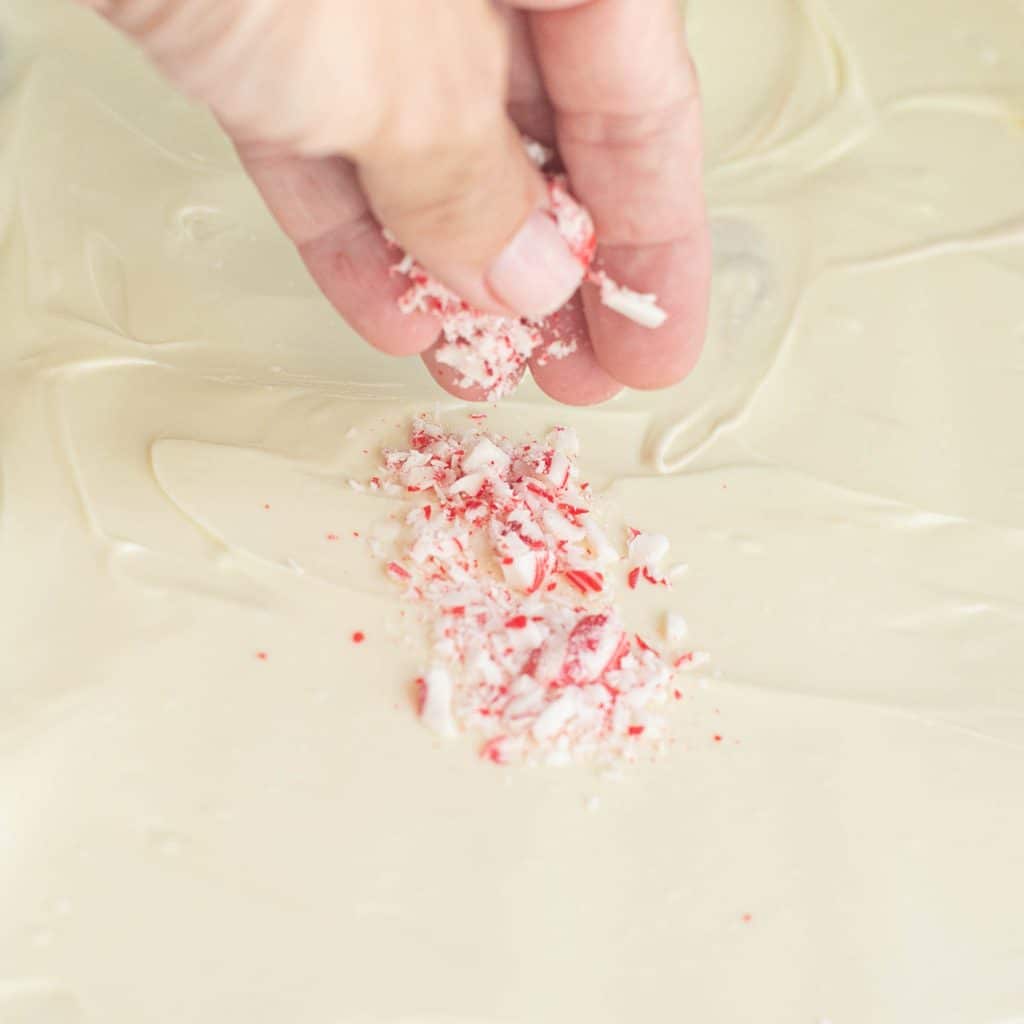
Sprinkle the white chocolate layer with the crushed peppermints. Very gently and every so slightly, use your fingers to press the candy down into the white chocolate.
Then, chill the whole thing for at least 30 minutes.
Break the Bark Apart
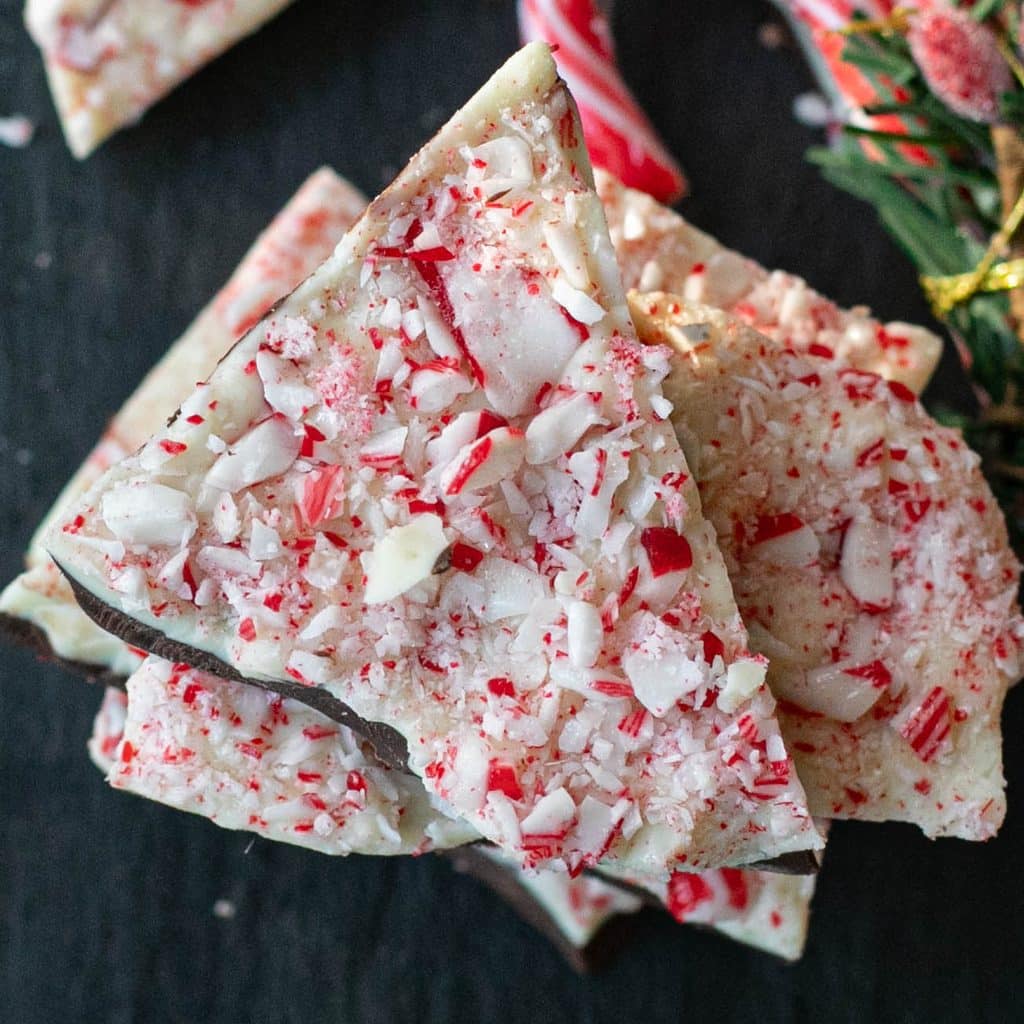
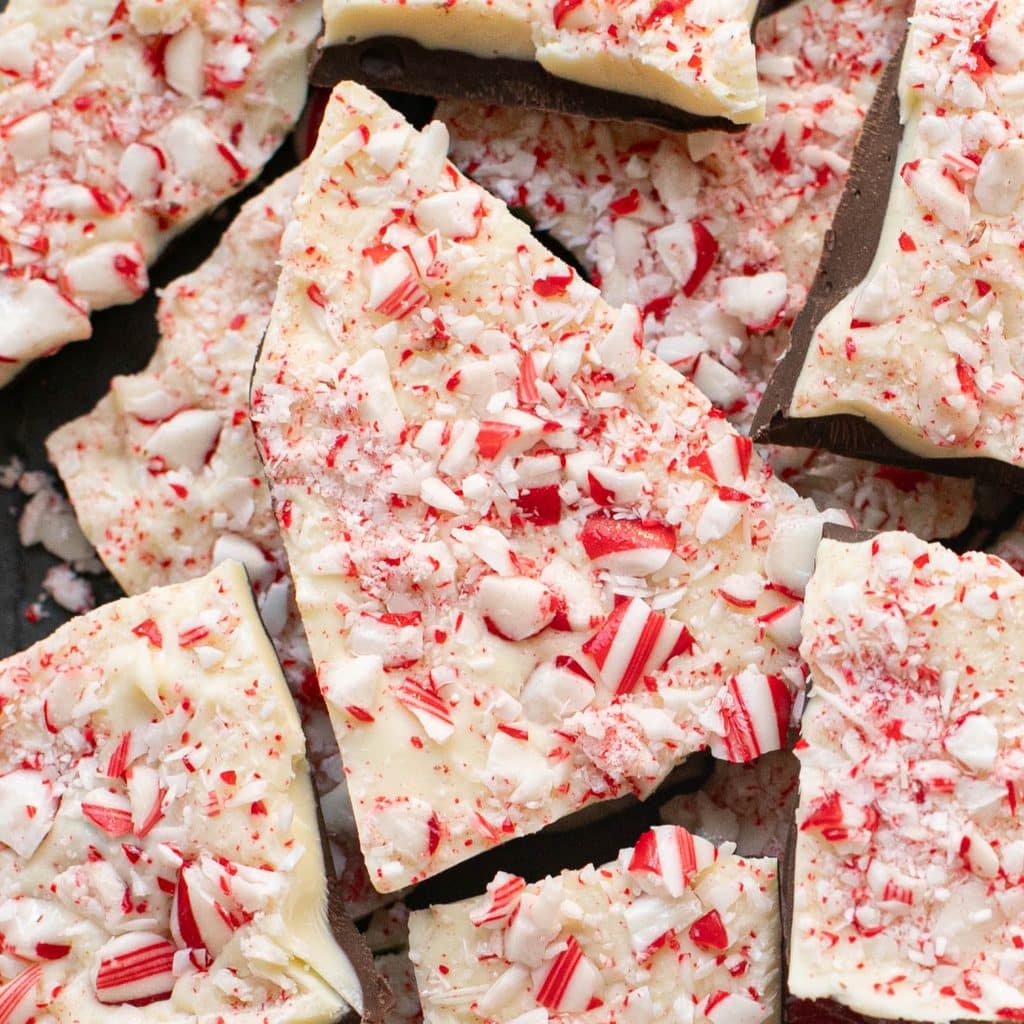
Once the bark is completely chilled, you can use the tip of a sharp knife to press directly down into it to break it apart, or simply use your hands.
Variations
- Dark chocolate peppermint bark: Replace the semisweet chocolate with dark chocolate chips for a richer, less sweet flavor. This variation pairs beautifully with the sweetness of the white chocolate layer.
- White chocolate bark: For a sweeter version, skip the brown chocolate layer and use white chocolate only. Sprinkle crushed peppermint candy over the top for a simple, festive finish.
- Three chocolate layers: Create three layers of chocolate by alternating semisweet chocolate, milk chocolate, and white chocolate. Allow each layer to set slightly before adding the next.
- Festive toppings: Add colorful sprinkles or a drizzle of contrasting chocolate for a fun twist.
Storage Instructions
Store peppermint bark in an airtight container, with layers of parchment paper separating the pieces. You can keep it at room temperature or store it in the fridge.
I like to store peppermint bark in the refrigerator. It ensures that it won’t melt if the kitchen happens to get warm.
Pro Tips
- Choose good-quality chocolate. The flavor of the chocolate makes a big difference in the finished bark. Use chocolate you enjoy eating on its own for the best results.
- Melt the chocolate gently. Chocolate can burn or seize if it gets too hot. Use a double boiler over low heat or a microwave-safe bowl, heating in 30-second intervals and stirring between each interval.
- Keep water away from the chocolate. Even a small amount of water can cause melted chocolate to seize. Make sure your bowls, spatulas and other equipment are completely dry.
- Use parchment paper. Line a baking sheet or sheet pan with parchment paper so the bark releases easily once it has set.
- Spread an even layer. Use a spatula to spread the bottom layer into an even layer. Consistent thickness helps the chocolate set evenly and makes the finished bark easier to break.
- Let the bottom layer partially set. Before adding the white chocolate layer, allow the dark chocolate to become slightly firm but not completely hard. This helps the layers adhere to each other.
- Crush candy canes carefully. Place candy canes in a zip-top bag and crush them with a rolling pin or meat mallet. Aim for a mix of small pieces and fine crumbs for a pretty finish.
- Allow enough setting time. Rushing the process can cause the chocolate layers to separate. Give each layer time to firm up before moving on.
- Use the right tool to cut the bark. Once completely set, a sharp knife can help you create smaller, more uniform pieces. For a traditional rustic look, simply break it by hand.
How long does peppermint bark last?
Homemade peppermint bark generally lasts about 2 weeks at room temperature when stored properly in an airtight container in a cool, dry place. It will last closer to 3-4 weeks if refrigerated.
Peppermint bark can also be frozen for about 2 to 3 months. Wrap it securely, place it in a freezer-safe container, and thaw it in the refrigerator before bringing it to room temperature.
How do you keep peppermint bark from separating?
The key to preventing peppermint bark from separating is controlling the temperature of the chocolate and allowing the layers to bond properly.
Here are a few tips to help the layers stay together:
- Don’t let the bottom layer get too hard. If the dark chocolate layer is completely solid before you add the white chocolate, the two layers may not adhere well. Let it set until it is firm but still slightly tacky. Ten minutes in the fridge should do it.
- Spread the white chocolate carefully. Pour the melted white chocolate over the dark chocolate and spread it gently into an even layer. Avoid pressing too hard, which can disturb the bottom layer.
- Don’t chill the layers too aggressively. Extreme temperature changes can contribute to separation. Allow the chocolate to set gradually in a cool room whenever possible.
What is the best chocolate to use for peppermint bark?
The best chocolate for peppermint bark is good-quality chocolate that melts smoothly and tastes delicious.
Semisweet chocolate is a classic choice for the bottom layer. It has enough sweetness to balance the peppermint and white chocolate without making the bark overly sugary. Semisweet chocolate chips are convenient, while chopped chocolate bars often melt more smoothly because they are formulated for eating rather than holding their shape during baking.
Dark chocolate is nice if you prefer a deeper, more intense chocolate flavor. It offers a dramatic contrast to the creamy white chocolate and refreshing peppermint.
White chocolate creates the signature top layer. For the smoothest results, choose high-quality white chocolate bars that contain cocoa butter. White chocolate chips are convenient, but some brands contain stabilizers that make them less fluid when melted. If you use chips, choose a good-quality brand and melt them gently.
For the best results, look for chocolate with cocoa butter rather than relying on products made primarily with vegetable fats.
Should I use chocolate chips or chocolate bars?
Both can work well. Chocolate chips are easy to measure and readily available, making them a convenient option. Chocolate bars, especially baking bars intended for melting, often provide a smoother consistency and make it easier to spread thin, even layers.
I recommend using high-quality baking bars for the white chocolate. Semisweet chocolate chips are fine to use.
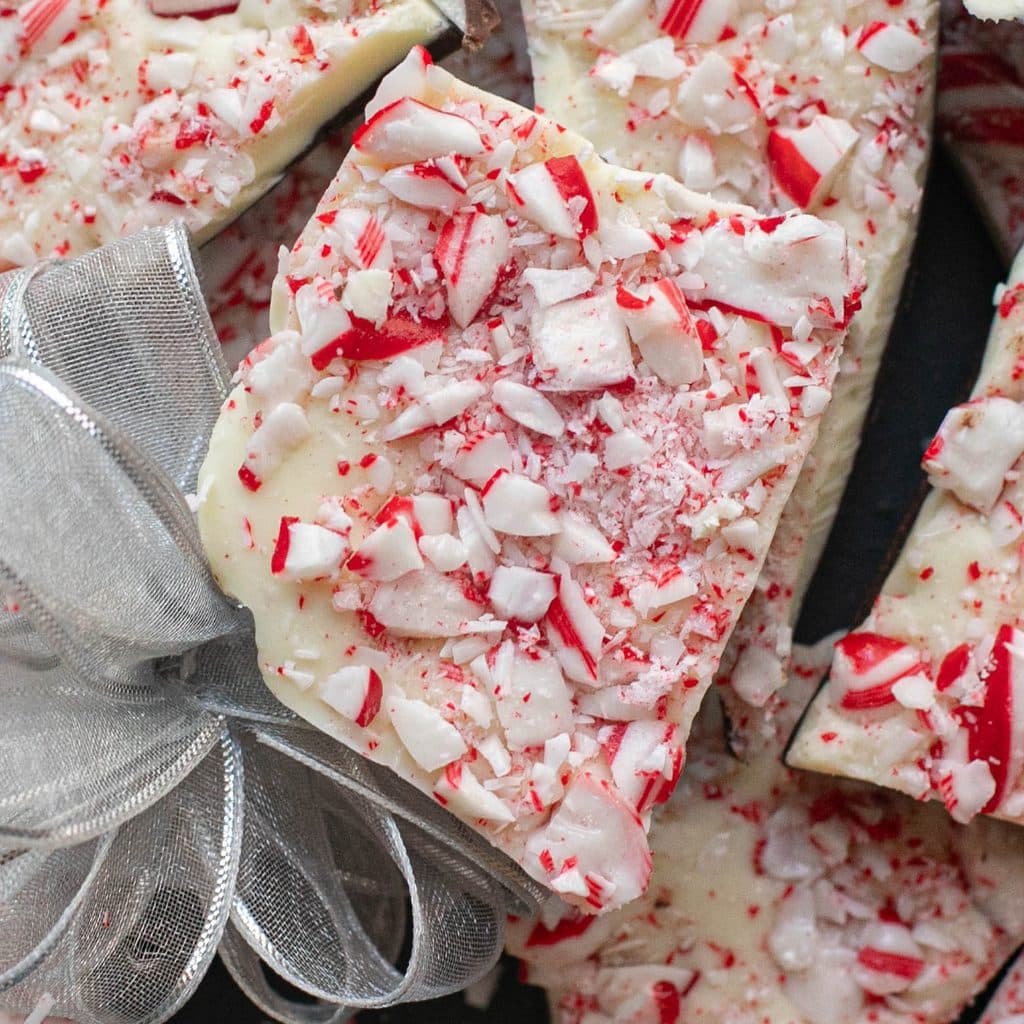
When you make this homemade peppermint bark recipe, I’d love to hear about it! Drop a rating or leave a comment below. Enjoy!
For more Christmas treats, try these:
- Chocolate Peanut Butter Balls with Rice Krispies
- 3 Ingredient Rolo Pretzel Bites
- Christmas Chex Mix with White Chocolate
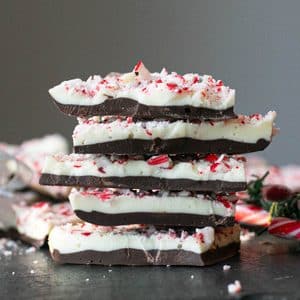
Peppermint Bark
Ingredients
- 16 oz. white chocolate
- 12 oz. semisweet chocolate
- 1/2 cup crushed candy canes
- 1 tsp. coconut oil divided
- 1/2 tsp. peppermint extract
Instructions
- Line a 9×13 baking sheet with parchment paper.
- Place the semisweet chocolate into a microwave safe bowl. Add 1/2 tsp. of coconut oil. Microwave the chocolate on high in 30 second intervals. Stir between each interval, until completely melted and smooth.
- Spread the chocolate evenly onto the parchment paper. Refrigerate for 10 minutes (set a timer) until set around the edges but still melty.
- Place the white chocolate into a microwave safe bowl. Add 1/2 tsp. of coconut oil. Microwave the on high in 30 second intervals. Stir between each interval, until completely melted and smooth. Then, stir in the peppermint extract.
- Spread the white chocolate over the semisweet chocolate layer. Top with crushed candy canes. Use your hands to very gently press the peppermint candy down slightly.
- Refrigerate at least 30 minutes, until completely set. Break apart using the sharp point of a knife or by hand.
Leave a Reply