• Follow Us
Simmer and sage logo | Simmer & Sage
  • Home
  • About
  • Contact
  • Recipes
    • Starter Recipes
    • Bread Recipes
    • Salad Recipes
    • Main Dish Recipes
    • Dessert Recipes
    • Drink Recipes
    • Sauce Recipes
    • Side Dish Recipes
    • Chicken Recipes
    • Gluten Free Recipes
    • Low Fat Recipes
    • Vegetarian Recipes
Contact Me
Simmer and sage logo | Simmer & Sage
Contact Me
  • Home
  • About
  • Contact
  • Recipes
    • Starter Recipes
    • Bread Recipes
    • Salad Recipes
    • Main Dish Recipes
    • Dessert Recipes
    • Drink Recipes
    • Sauce Recipes
    • Side Dish Recipes
    • Chicken Recipes
    • Gluten Free Recipes
    • Low Fat Recipes
    • Vegetarian Recipes
Simmerandsage » Recipes » Homemade Oreo Cookies

Homemade Oreo Cookies

August 18, 2020

By simmerandsagePublished: August 18th, 2020Updated: September 30th, 2021
Jump to Recipe Print Recipe
Homemade Oreo Cookies

What was your favorite cookie when you were growing up? Mine is a tie between Fig Newtons and Oreos. I remember those glorious days of being a teenager, body flush with natural growth hormone, skinny as a rail no matter what I ate, just hammering back a full sleeve of Oreos after school like it was no big deal. Ahhh, the good ol’ days. I’ll admit I’m extremely jealous that my kids can do this and still be so thin. I tell them all the time to enjoy it while they can.

Oreos are in our house on the regular. We have a pretty famous snack drawer – famous within the borders of our neighborhood, at least – where you can find a bevy of sweet and savory treats, all individually wrapped and lunchbox ready. So, why the need to make Homemade Oreo Cookies when they’re so easy to grab from the snack drawer? Maybe I like a challenge…

Getting the cookie part right for Homemade Oreo Cookies

First, I focused on the cookie. Oreos have a very distinct texture – crumbly, buttery and semi-crisp but not overly crisp. It would be a fine balance to strike. Also, the color of an Oreo is much darker than a traditional chocolate cookie. Regular cocoa powder would not yield that almost black color. I had heard about black cocoa powder but was not able to find it at my supermarket. I did, however, get my hands on Hershey’s Special Dark Cocoa which turned out to yield a really nice, deep, almost black color. So if you can’t find black cocoa, the dark stuff works just fine.

Homemade Oreo Cookies

I tweaked the measurements of my basic chocolate sugar cookie recipe to get the right Oreo texture by increasing the cocoa powder, reducing the number of eggs and adding a little bit of baking soda. I would say that these cookies are 98% of the way to full Oreo texture, which is good enough for me, because they’re homemade and homemade always gets extra points. But one thing you must to with these Homemade Oreo Cookies in order to perfect the texture is allow them to cool completely. They crisp up when they cool, and that’s what you need before you assemble them.

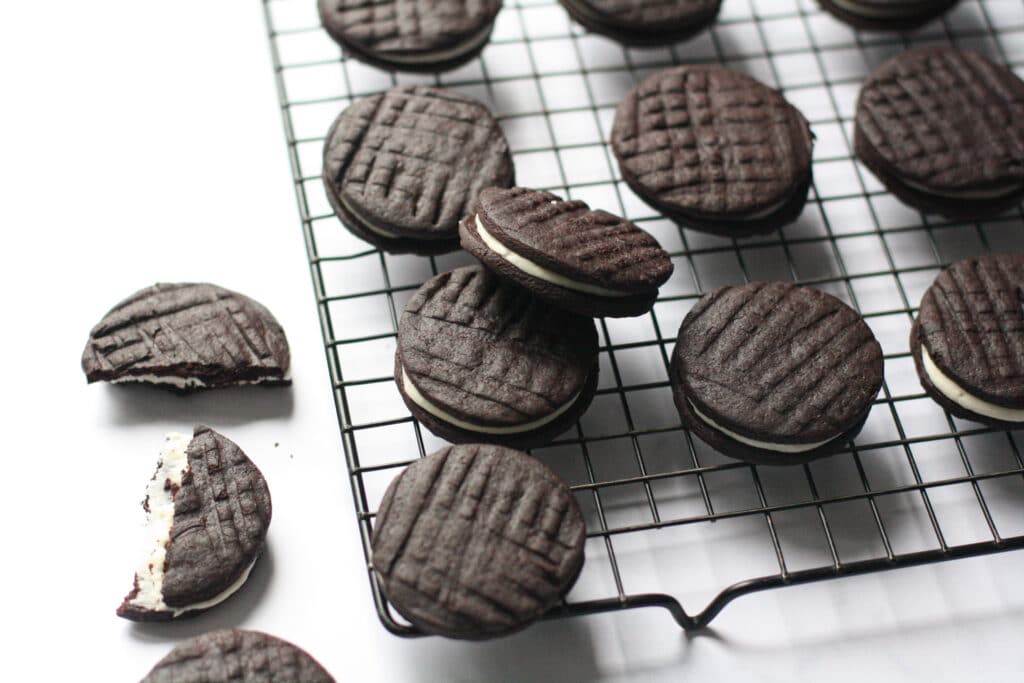
How do you make the designs on these cookies?

One thing I wish I had when I was making these Homemade Oreo Cookies was a cookie stamp. Oreos are so dunkable in milk because of all those little crevices and great texture that they have from being stamped with their trademark design. A cookie stamp is now officially on my wish list. You can find really beautiful ones at specialty kitchen stores and, of course, Amazon. But since I didn’t have a cookie stamp, I just make some criss cross designs with the back of a fork. Be sure not to press too hard because you don’t want to ruin the perfect circular shape of your cookie. A small indentation will do the trick.

Homemade Oreo Cookies

Getting the filling right for Homemade Oreo Cookies

The filling is nothing more than vanilla buttercream frosting. And when it comes to buttercream, I’m going to pat myself on the back for a minute and say that my recipe rocks. I mean, it’s not rocket science to make a good buttercream. But I love mine. I have to make a conscious effort not to shovel spoonfuls of it into my mouth while I’m decorating a cake. So for this filling, I tried to get fancy again because I wanted to make sure that the filling was pure white, like Oreos. But I struck out again and couldn’t find clear vanilla extract at the supermarket, so I used regular vanilla extract. And guess what – it came out white and bright. Another crisis averted. And the flavor? Spot on.

I’m thrilled to say that my entire family loved these cookies. My sister says that these Homemade Oreo Cookies taste “cleaner” than the originals, but I think she just means that there’s less crap in them. I can’t think of a better rainy day activity than making these cookies with the kids. Put them to work stamping the designs on the cookies and then assembling the finished product. The process is as delicious as the end result. Enjoy!

IMG 5184 | Simmer & Sage

Homemade Oreo Cookies

Make your own version of this favorite cookie with buttery dark chocolate wafers and creamy vanilla filling
Print Recipe Pin Recipe
Prep Time 30 minutes mins
Cook Time 15 minutes mins
chilling 30 minutes mins
Total Time 1 hour hr 15 minutes mins
Course Dessert, Snack
Cuisine American
Servings 2 dozen

Ingredients
  

The Cookies

  • 2 cups flour
  • 2 sticks unsalted butter
  • 1 cup dark cocoa powder
  • 2 eggs
  • 1 tsp. salt
  • 1 cup sugar
  • 1/4 tsp. baking soda

The Filling

  • 3 oz. salted butter
  • 6 oz. confectioners sugar
  • 1 tsp. vanilla extract

Instructions
 

  • In a stand mixer, cream the butter and sugar together until fluffy. Beat in the eggs one at a time.
  • In a separate bowl, whisk together the flour, salt, cocoa and baking soda. Slowly beat the flour mixture into the butter mixture until well combined. Form the dough into 2 small disks and wrap with plastic wrap. Chill for 30 minutes in the refrigerator.
  • Make the filling – in a stand mixer, beat the butter until fluffy. Add the confectioner’s sugar and beat until combined. Beat in the vanilla until creamy.
  • Preheat the oven to 350 degrees. Roll the dough onto a floured surface until it is about 1/4 inch thick. Using a 2-inch biscuit cutter, cut out the cookies and place them onto a parchment-lined baking sheet. Use a cookie stamp or fork to make designs in the cookies by lightly pressing down so that you don’t flatten them too much. Bake 12-14 minutes.
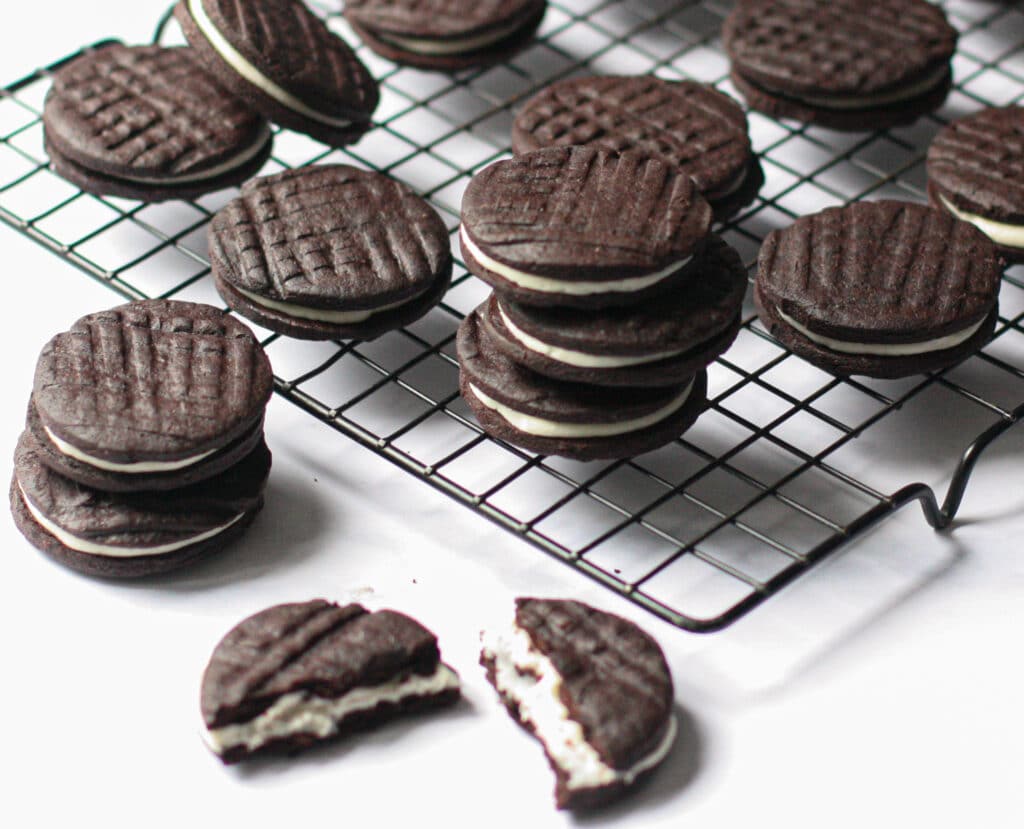
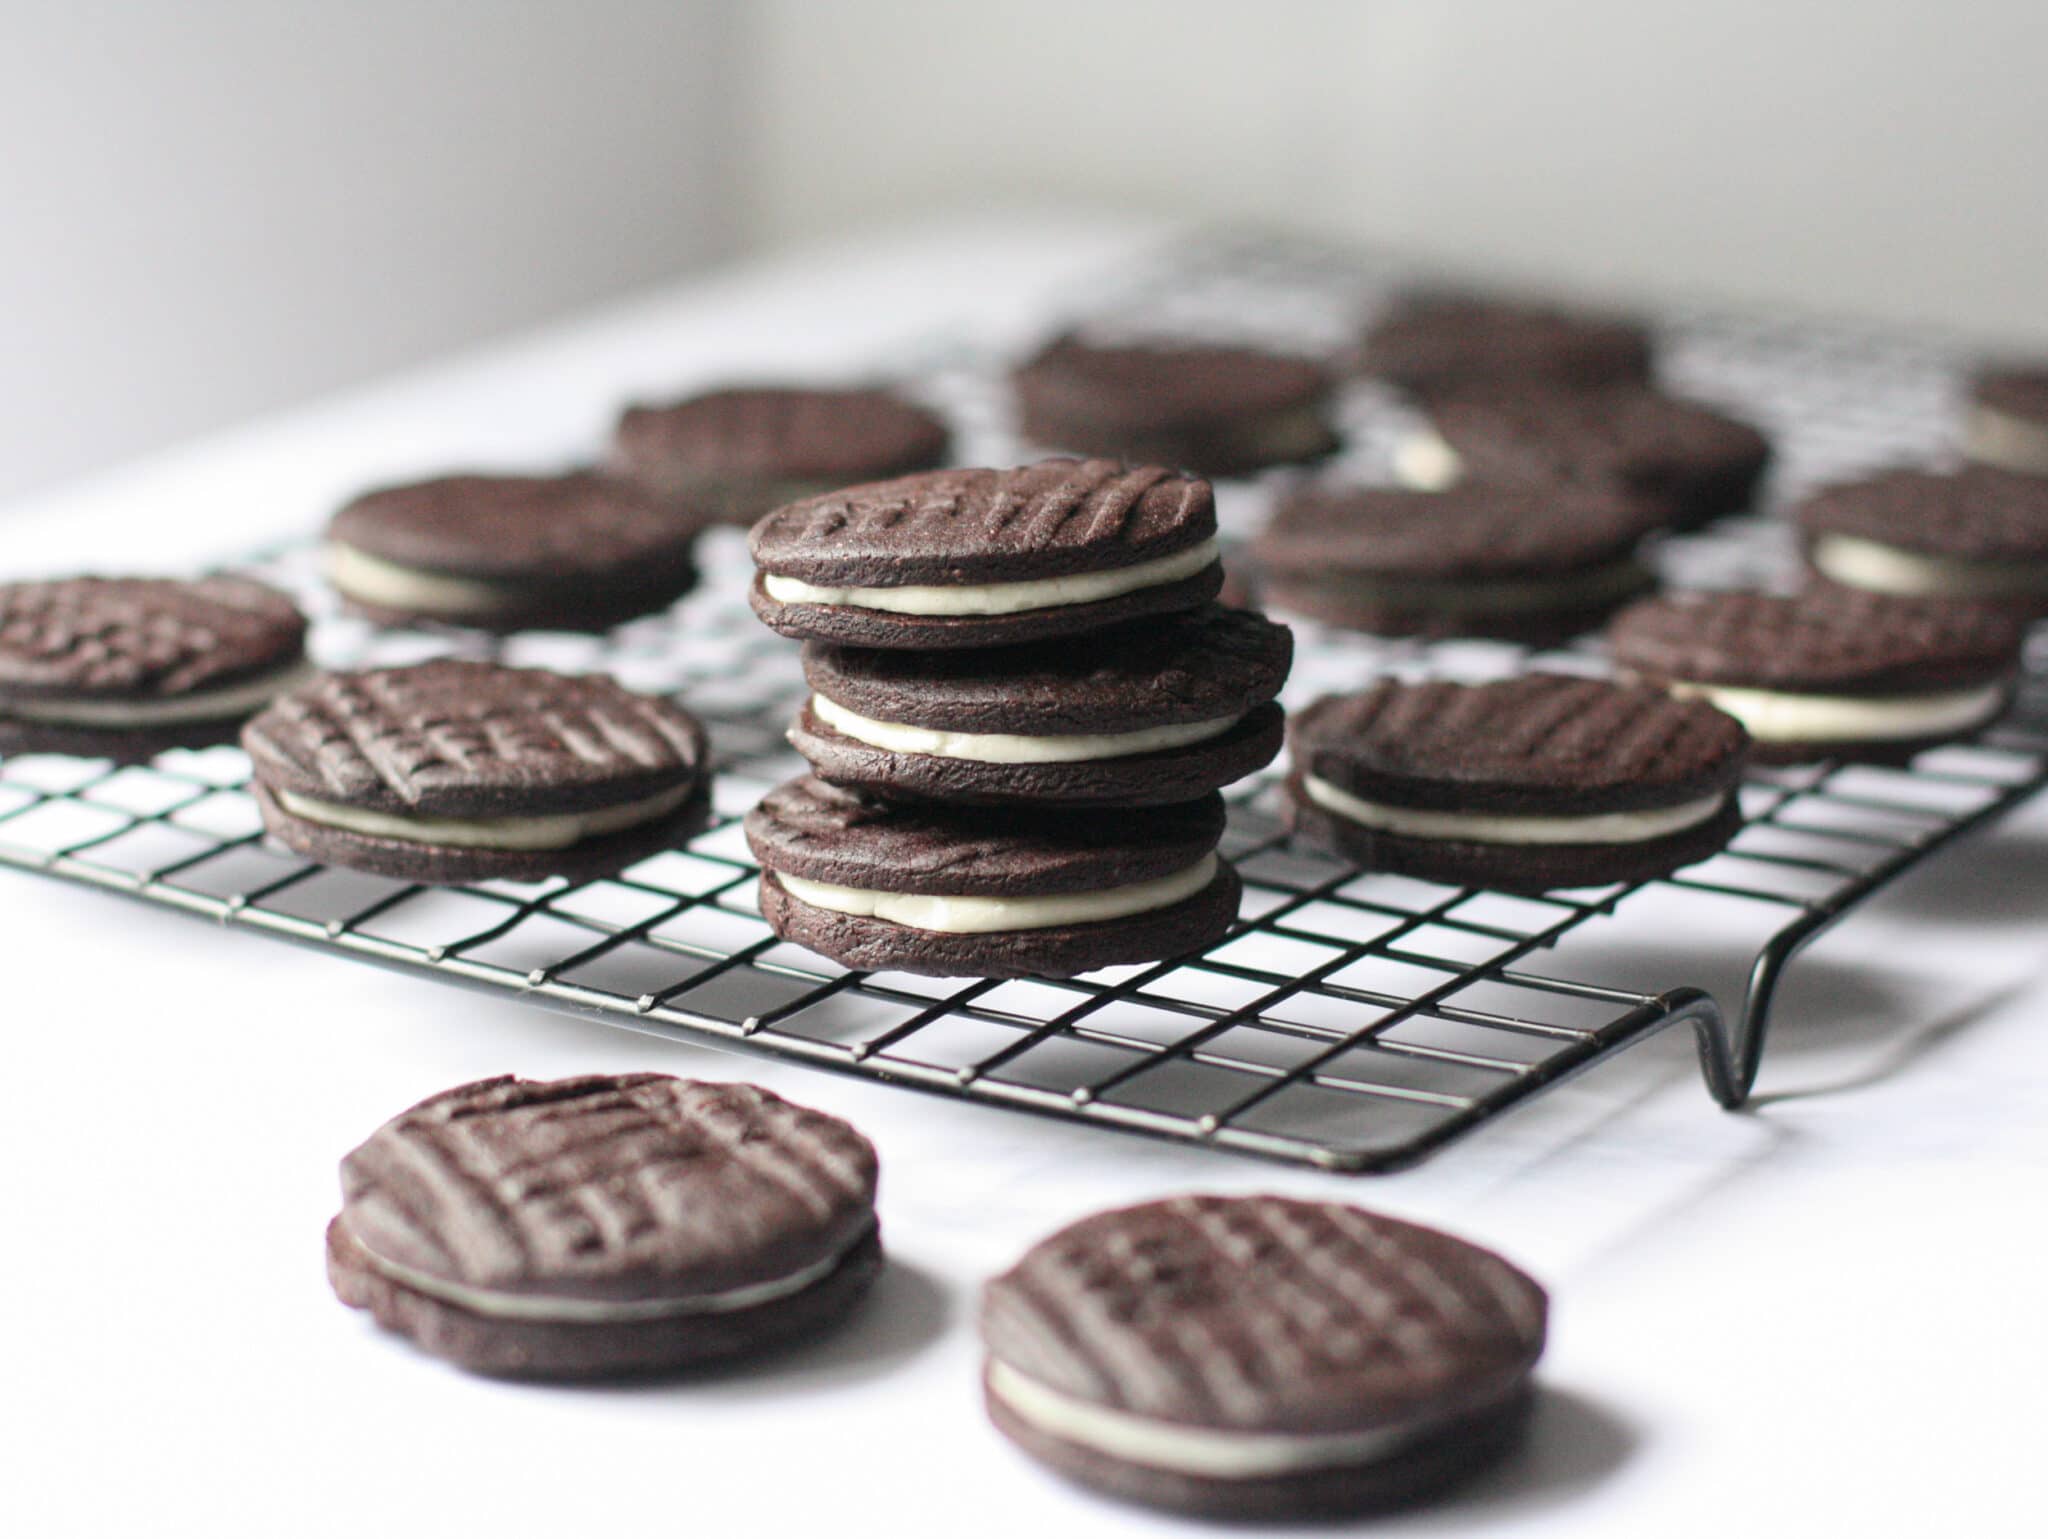
  • Allow cookies to cool completely before assembling. To assemble, pipe frosting in a circle on the inside of one cookie. Fill in the circle with additional frosting. Gently press another cookie down onto the filling until a sandwich is formed.
Keyword chocolate, dessert
Tried this recipe?Let us know how it was!

How useful was this recipe?

Click on a star to rate it!

Average rating 5 / 5. Vote count: 2

No votes so far! Be the first to rate this recipe.

Share this recipe:

Filed Under: Dessert Recipes, Recipes

Reader Interactions

Leave a Reply Cancel reply

Your email address will not be published. Required fields are marked *

Recipe Rating


Primary Sidebar

Hi! I’m Jackie.

Jackie

Welcome to my little food utopia! Here you'll find simple recipes that are usually healthy, occasionally indulgent and always delicious. I'm a self-taught cook, recipe creator and food photographer. Sometimes you might see me talking about my favorite subject - food - on QVC. Thanks for trusting me with your dinner plans!

Read More

Find a Recipe

Socialize With Us

  • Facebook
  • Instagram
  • Pinterest

Subscribe

Trending Recipes

Chai Tea Latte Recipe (Just like Dunkin Donuts)

Herb Crusted Chicken Recipe (Texas Roadhouse Style)

Best Chicken Chesapeake Recipe (with Maryland Crab)

Crispy Italian Chicken Sandwich | Simmer & Sage

Chicken Cutlet Sandwich Recipe (Italian Style)

Easy Creamy Blush Sauce (Pink Pasta Sauce Recipe)

Raita Recipe (Indian Yogurt Sauce for Naan & Biryani)

Footer logo | Simmer & Sage
  • About
  • Recipes
  • The Chickens
  • Contact
  • The Garden
  • Testimonials
  • Entrees Recipes
  • Privacy Policy

Follow Us

COPYRIGHT © 2022 · SIMMER AND SAGE. ALL RIGHTS RESERVED.

Web Design by Pixelchefs.com

Join the Simmer & Sage Community

Free recipes delivered to your inbox every week!

Enter your email address

Thanks, I’m not interested